Browsed by
Category: holidays

a giveaway!

a giveaway!

And ooo, just in time for Valentine’s Day, too!

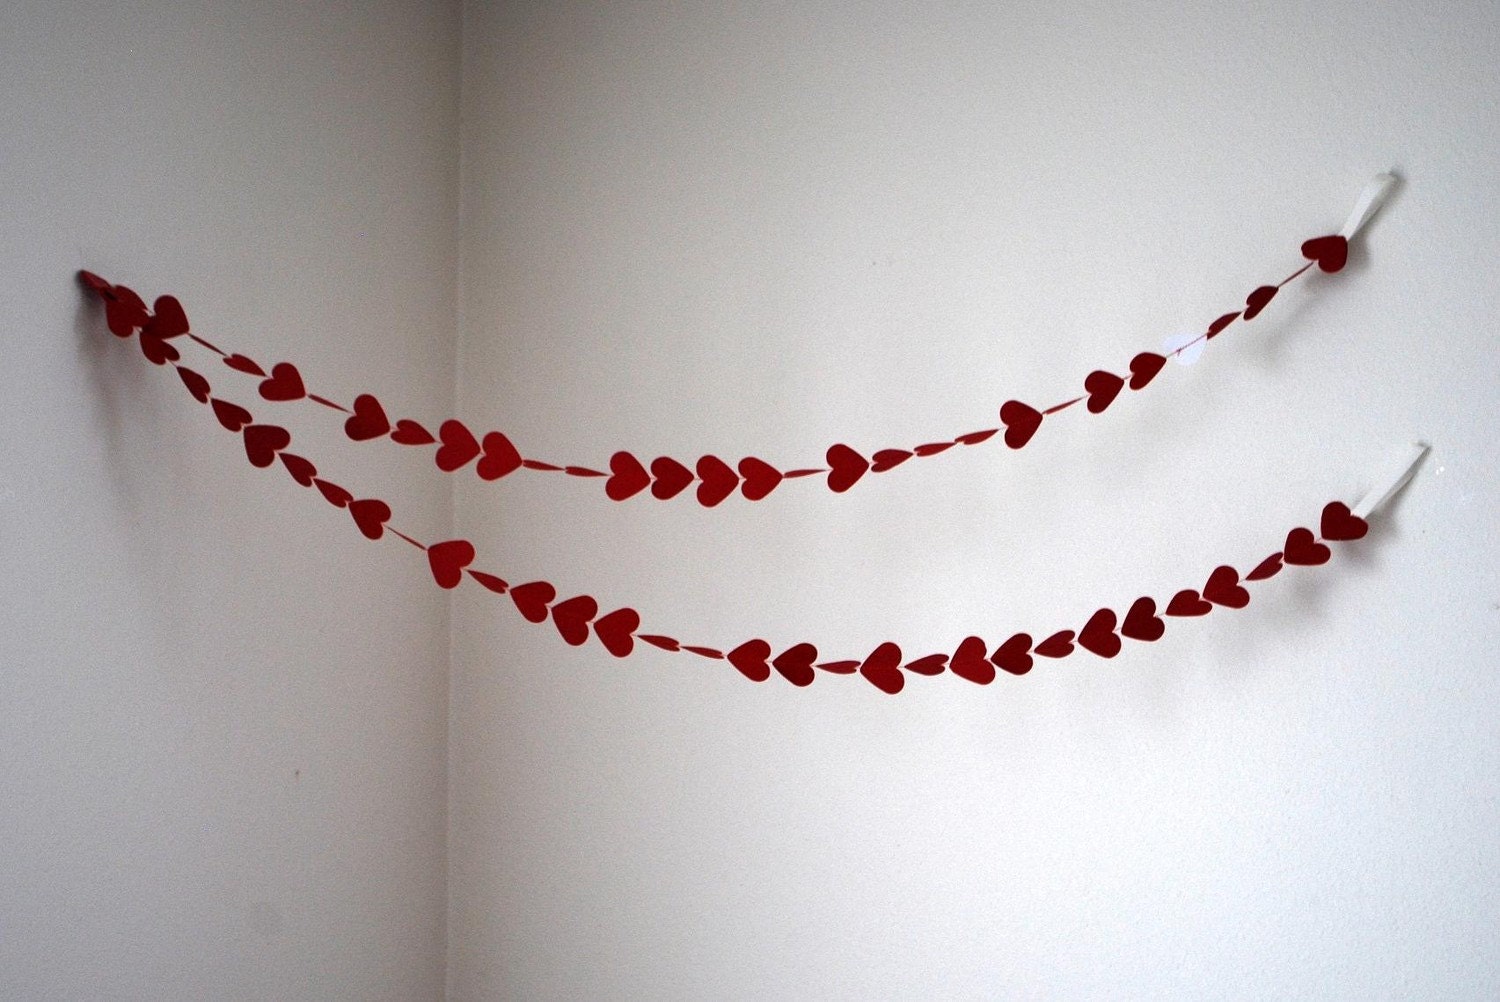
I’d like to offer one of my 8-foot Romantic Heart Garlands in red to one of you sweet readers <3 Just leave a comment on this post for a chance to enter! (pretty easy :D)
For a second chance, click over to my shop and then leave a comment telling me what might go on to your wishlist.
And for a third chance? Share the giveaway! (and then leave a comment here letting me know that you shared and where)

The winner will be posted here on Thursday <3 {giveaway closed}

for your Valentines

for your Valentines

 This was going to be a home-made Christmas gift post to go with my little mini-series from the Christmas before, but it’s quite a bit after Christmas already (how in the world did that happen? and I was even planning a year re-cap post … whoops!). So now it’s a “just in time for Valentine’s Day” post. : )

Have you seen the idea from Martha Stewart where you take a quilting hoop and make it into a card wreath? There are really excellent step-by-step instructions on her site, so I won’t try to replicate them here. : )
I made one a few years ago, and this last Christmas I made two for my sisters-in-law. Notice the gold ribbons? I did that on purpose – not only will they be great for display Christmas cards neatly, but they will also work really well for displaying Valentines, Easter cards, or even family photos. We live a distance from some of our family, and pinning up photos of Grandpa, Grammie and Aunts and Uncles really helps the little ones with being able to associate a face with the voice on the other end of the phone. : )


So there you have it! A belated post saved from being deleted! Or rather, a special project just in time for Valentine’s Day <3 xoxoxo
(I’m linking this at a few of these blogs {link here} – check them out for lots of crafty Valentine ideas!)

my first Pottery Barn knock-off

my first Pottery Barn knock-off

I finally did it – I made my own Pottery Barn pillow. I’ve seen bunches of Pottery Barn inspired things that other people have made, and I’ve finally joined their ranks. And I’m so glad! A few weeks ago the Christmas version of their catalog came in the mail and I quickly thumbed through it for decor ideas, and, to make sure that I wouldn’t get too tempted to buy anything, I even stood by the trash can while I did it so I could just toss it in when I was finished.

And then I saw the photo of the poinsettia pillow. The one that was made of linen and had a white, fleecy looking poinsettia stitched on it. With gold bells. And I knew I could make one. For free. : )
So, I tore out the page and tossed the rest.

I dug through my fabric boxes for the linen and fleece and got the bells out of the Christmas box and got to work (and then got interrupted by small voices letting me know that nap time was over).

Over the next week I cut out 18 petals: 6 large, 6 medium and 6 small. I made up a simple envelope style pillow cover and one evening stitched the petals to it with white embroidery floss while John and I watched a movie. The next day I put the bells on during nap time and voila – it was done!

It was easier than I expected it to be, even though it took longer than I thought it would. (funny how mothering little ones can take up your time :D). I love the result, and am delighted to have added something else to our Christmas things.


a Valentine’s Tea

a Valentine’s Tea

A belated Happy Valentine’s Day to you all! I have been working on this post for several days, hoping to get it posted in time to celebrate Valentine’s Day with you, but life kept moving and babies kept needing mommy. Oh well – at least late is better than never. :)

Did you catch my brief mention that we are moving? This move is happening in two stages, the first stage of which is complete but now we are waiting on some paperwork and other details before the second stage can happen – so blogging here has moved a bit lower on the priority list!

As we were packing things up in the middle of January I realized that we probably wouldn’t be settled by Valentine’s Day – and that I really wanted to be able to celebrate Valentine’s this year!
The solution? Celebrate early. :)

Emma Grace and I invited my sister-in-law and her friend over for the day and then we (I) pulled out all the red and pink things that I could find (read, all the ones that hadn’t been packed yet). We had so much fun taking a break from moving to just decorate and enjoy the holiday. :)

We had strawberry scones, pumpkin bundt cake, lemon curd, sweetened cream cheese and my sister-in-law and her friend brought some cucumber tea sandwiches and a plate of baked ham sandwiches (Leah, if you still have the recipe could you email it to me? thanks!) that were really good.

I used this totorial to make a pom-pom garland. I loved making it (so fun and easy!), and love the actual garland even more! I’m thinking of maybe making more (in white perhaps?) to put in our master bedroom – or in the family room. :)

We had a wonderful time, and Emma Grace absolutely loved her first tea party.

I’m linking to a few of these blogs – can you believe that Spring is coming? They are posting some really darling decorating ideas!
handmade Christmas, part III

handmade Christmas, part III

I made several jars of Lemon Curd to go with the tea towels that I gave as gifts this Christmas, and they were a huge hit!

Lemon Curd – makes about 1 quart

6 lemons
2 cups sugar
3/4 cup butter, cut into pieces
6 eggs, beaten

Zest 2 of the lemons.
Juice the lemons to get 18 Tbsp juice.
Combine the zest with sugar, lemon juice, butter and eggs in the top of a double boiler over medium heat.
Stir frequently until thick, about 20 minutes.
Pour into jars, cool and refrigerate.

This is a family favorite (my grandma used to make it every year for her church’s Christmas tea) and is delicious on scones, toast, waffles, pancakes, crepes … pretty much anything!

I’m posting a link to this on some of these blogs. :) 


1-1-11

1-1-11

2010 was a good year. A very, very good year. It was a full one, too!

 In January I got Emma’s closet/my craft storage area organized.  It was so nice to see it all tidy. :)

 In February I opened my Etsy shop. I had high hopes but no real idea of how well it would do!

I made Emma a little blue skirt in March. 

I posted my first step-by-step tutorial in April, a flower pin.

May saw me in full nesting mode – wow, there were a lot of things getting done around here! There were the Chalkboard Storage Jars, the Hanging Votives, Moses Basket, made room for baby #2, and my February Sweater to name a few. And another highlight was that some of my projects were featured on other blogs – a fun first for me. :)

June had the biggest and best news of the year – our “little” Ian was born.

In July I added international shipping to my Esty shop (and have since mailed things to England, Spain, Singapore, Australia and Canada!), wrote a post about growing your own ginger, and posted photos of the blanket that I made for Ian.

One of the highlights of August was getting my flower pins featured on the front page of Etsy. :) I also posted a tutorial on how to make your own cushion covers, photos of the sweater I made for Ianhttp://path-less-traveled-market.blogspot.com/2010/08/bench-cushions.html, and about organizing my recipes.

September saw me sewing for Emma and a bunch of custom orders, winning a darling dress for her from Back Country Drive and joining the Kids Clothes Week Challenge to name a few things. That was a busy month!

 In October we took a family vacation and when we got home I got another custom order, this time for a fabric garland. It was so popular, both here on the blog and in the shop, that I ended up writing a tutorial on how to make your own.  :)

 In November I (finally) joined Twitter, hosted my first giveaway, finished Ian’s hat and sweater and a bunch of other things that got jumbled together into one post.

And in December I posted about painting wall wordsmaking an ironing board cover, and my most popular post yet, making tea towels as Christmas gifts.

Yes, it’s been a very good year. Thank you all for reading and joining me! I’m looking forward to what God has in store for us this next 12 months. :)

Handmade Christmas, part II

Handmade Christmas, part II

This project was actually a Christmas present for me. :)
A while ago I saw this tutorial for sewing your own ironing board cover and saved it in my “ideas” folder. It looked so easy, and my ironing board definitely needed a face-lift! Then a few days later I found some really cute material on the remnants table at the fabric store. And now, several months later, I finally took the time to make it into this:
It turns out that the hardest part was getting everything together and taking the time to make it – so glad I did! :)
The ironing board cover takes 2 yards of fabric and about an hour to complete (or longer if you get interrupted;)). Basically, if you have a sewing machine, iron and ironing board and some basic sewing skills, you can make this!

Hmm, maybe I’ll make a few more as Mother’s Day gifts?
I’m posting a link to this on a few of these blogs.
handmade Christmas, part I

handmade Christmas, part I

I made a dozen tea towels to give as gifts this year to, well, some of my loved ones (you know who you are already, so what am I trying to hide?). :)
They were so much fun to make, and so pretty that I’m thinking of keeping a few for myself!

I meant to post these and the tutorial right after I finished making them two weeks ago. Really, I did.
But you still have time to make some too, if you’d like!

To make them I used:

  • 6 cotton “flour sack” towels, 30″x30″
  • a bag full of ribbons and trims that I’ve been saving
  • sewing scissors
  • iron and ironing board
  • my sewing machine

I cut the towels in half the long way to end up with 12 towels that were 15″x30″.
Then I pressed them, ironing out a bunch of the wrinkles and pressing a hem on the raw edge.
Next I sewed the hem on the raw edge, making them finished on all four sides.

I have a bag full of short ribbons and miscellaneous trims that I’ve been saving and I spent an hour or so sorting through it looking for just the right combination of ribbon and trim for each of my loved ones (making them so cute and personal). That was the most fun out of the entire project!

The last step was sewing the trim on to the towels. Once that was done, all that was left was to wrap them up!

I’m linking this at these blogs – check them out for some terrific Christmas ideas!