Browsed by
Author: Elizabeth Smillie

Hello there! I'm Elizabeth. Welcome to my website and blog space. All the products in my little shop are hand crafted and stem from my desire to provide creative and high quality products that make people feel lovely. I believe the little moments of life matter, every day should be celebrated, and that the beauty all around us is a gift from the Creator to be enjoyed. I'm married to a wonderful guy who happens to be my greatest cheerleader and best friend, mama to three little ones and currently reside in the heartland of America.
the Cars party!

the Cars party!

Part one of the Cars party, here we come! Do you remember the sneak peak of Ian’s party that I shared? Here’s the {beginning of} the rest of it :)

If you remember, here’s the Pinterest board that I used to brainstorm party ideas for the Cars/fire engine/mechanic/Americana birthday that Ian asked for. There were sooo many amazing ideas that would have been fun to make happen, and John and I managed to pull off a few … and Ian was more than thrilled with the result!

the Cars party on the Path Less Traveleda pre-party shot of the snack/dessert table that was one of the focal points of our indoor decor {note the absence of the drinks and other cold items :)}
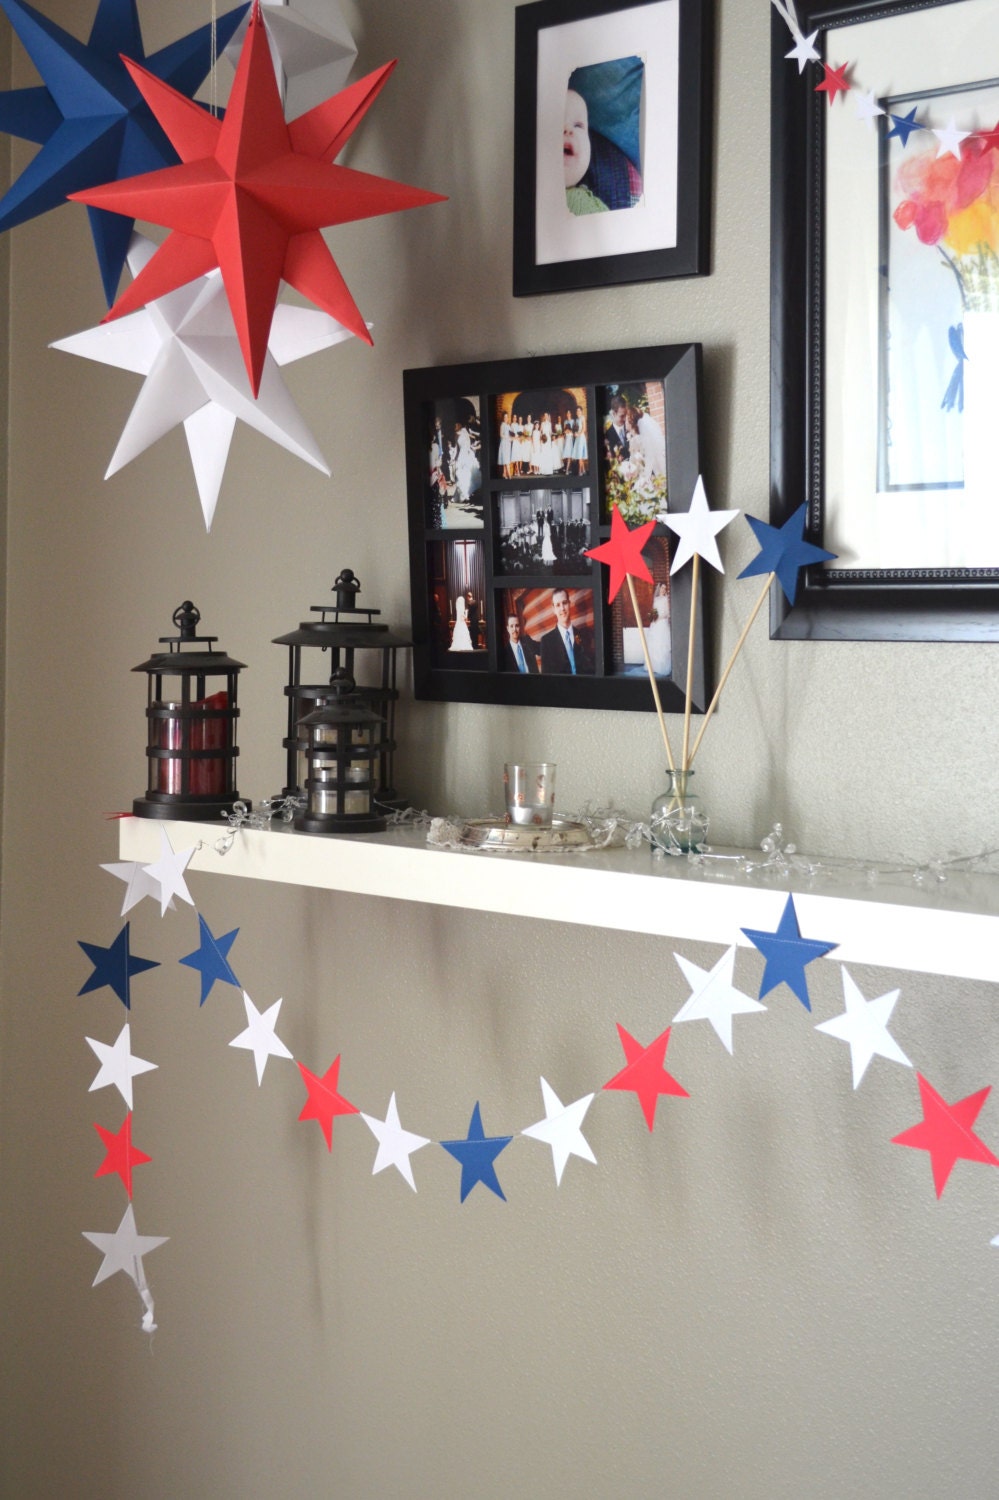
the Cars party on the Path Less TraveledI used a piece of burlap from my fabric stash {stashes of goodies like this come in super handy when pulling together parties on a budget!} to cover the table and rounded up all the galvanized bins that I could find to hold snacks and add some height to the spread.the Cars party on the Path Less TraveledThe wall signs were inspired by this Radiator Springs party and this “Route 3” party – all done free hand by moi while the birthday boy was taking his pre-party nap :)the Cars party on the Path Less TraveledThe Red, White and Blue Stars Garland added the perfect bit of color and texture to the front of the table, don’t you think?the Cars party on the Path Less Traveledthe snacks and goodies included watermelon, nuts, chips and salsa, pretzels, carrot sticks and dip, Chex mix, S’mores {the vintage blue Ball jars are perfect for serving and displaying goodies like this!}, and a variety of cold drinks {including this punch which is delicious and really easy!}.the Cars party on the Path Less TraveledDo you see the little cars and tools scattered across the table? Ian got quite a kick when he realized that I had used some of his favorite toys for his party decorations {he’s such a sweetheart!!!}
the Cars party on the Path Less Traveledthe Tow Mater sign – Ian is still holding onto this! He has it in his room now next to his bed. From a distance you can hardly tell that I whipped it out using a sheet of cardboard, a foam brush and some white acrylic paint. ;)the Cars party on the Path Less TraveledI made the Lightning McQueen sign using a free printable that I found here and some red construction paper – it turned out so cute that I ended up making several to scatter around the party!

So, there you have it – part one of the Cars party!


This is going to be a birthday themed week here on the blog! Today the world is welcoming a new royal baby {congratulations, William and Kate! And blessings upon the newest successor the British throne! <3 } and later this week my husband and three of his brothers will be having birthdays. Imagine the amount of cake that we’ll be eating! {not that I’m complaining at all!} How do you and your family celebrate birthdays? Do you have any special traditions?

<3

Follow on Bloglovin

how-Tuesday: ruffle bottom onesies {is there anything sweeter than a tiny ruffled bum?!}

how-Tuesday: ruffle bottom onesies {is there anything sweeter than a tiny ruffled bum?!}

I have a new niece! The sweet little dumpling was born last week, and in anticipation I had been doing just a bit of sewing {of course} :) Sewing for my own babes is a joy, and making sweet little things for nephews and nieces is just as much fun!}.

She’s the first little girl in her family, and is destined to be outfitted with her fair share of pink and lace … so it was only fitting that I make her a ruffle bottomed onesie!

Would you like to make your own version? If so, follow along with me as I show how I made this one {note: I’m not a professional seamstress, and this is the “wing it as you go method” :)}

DIY ruffle bottom onesie tutorial from the Path Less Traveled

materials: 1 onesie, ruffled lace trim {mine was about 1 yard long, but you could use more or less for different looks}, sewing pins, thread {that matches your trim}, scissors and a sewing machine

DIY ruffle bottom onesie tutorial from the Path Less Traveled step 1: unsnap the bottom of the suit and pin the lace to the base of where you like the ruffling to start in the rear – I chose to begin pinning where the leg curve stopped. As you pin, turn the raw, beginning edge of the lace under so that there are no straggling threads. :) Don’t cut the trim yet!DIY ruffle bottom onesie tutorial from the Path Less Traveled step 2: begin sewing! starting at the end of the lace, sew almost to the other side of the onesie, stopping about an inch from the edge. Backstitch and raise your needle and presser foot.DIY ruffle bottom onesie tutorial from the Path Less Traveled step 3: fold the trim back the other way, layering it over the first line. Stagger the second row of trim a bit – this begins your “ruffle but”! Pin in place, and sew as the first line.DIY ruffle bottom onesie tutorial from the Path Less Traveled Continue in this manner, zigzagging the trim back and forth until you’ve achieved the fullness and look you have in mind …DIY ruffle bottom onesie tutorial from the Path Less Traveled…and when you come to the end of your last layer …
DIY ruffle bottom onesie tutorial from the Path Less Traveled …turn under the raw end as in the beginning …DIY ruffle bottom onesie tutorial from the Path Less Traveledand sew to secure it, backstitching to lock it in place.DIY ruffle bottom onesie tutorial from the Path Less Traveled This is what it will look like from the inside – zigzags of stitching!

DIY ruffle bottom onesie tutorial from the Path Less TraveledOnce you’ve finished, be sure to clip any stray threads. Then enjoy the cuteness! 

Now that I’ve made these for baby Brooke, I think I need to make one or two for Olivia :) Because it sure would be a shame to miss out on seeing a darling pile of ruffles squirming across the floor as she learns to crawl!

<3

Follow on Bloglovin

I’m sharing this at the Vintage Farmhouse, the Train To Crazy and She Sews <3

our 4th

our 4th

Our 4th of July celebration was a bit low key this year, but we sure did celebrate!

4th of July fun

Olivia in the wading pool4th of July spreaddeviled eggs with patriotic starsa Jello flag yummy food and happy kids all tuckered out from celebratingsparklers darling girl darling girl darling girl the two of usDSC_0072 DSC_0075 DSC_0102 DSC_0119 DSC_0109

John had to work for most of the day, so the kiddlets and I enjoyed a quite day at home – PB&J for lunch and some wading pool fun! Olivia played in the pool for the first time ever and really enjoyed herself :)

After late naps {to ensure cheerfulness for a late night of fireworks!}, the kids and I met John at his parents’ home where we spent the rest of the evening. We had some delicious BBQ and a full spread of summer foods – even star topped deviled eggs! Olivia was worn out by all the fun and put herself down for a pre-fireworks nap :)

Ian got to experience his first sparkler {he LOVED it!} and Emma Grace kept asking when it would be dark, and at one point even asked if I could “set the timer for it to be fireworks” – darling girl! It’s so hard to wait when you’re 4 {or 27 :)}.

The fireworks were well worth the wait – in Indiana you are allowed to shoot off some really fun ones! Emma Grace and Ian were excited to wear some ear protection {Em: “mine are pink!”} and we sat around a bon fire as my brother-in-laws masterminded the show.

All in all, it was a quiet, relaxing day. I thought a bit about freedom – how it is so easy to allow it to be eroded until the the very word is only a hollow husk, and how both as a nation, as individuals we must be vigilant. And how I am extremely grateful for those who have sacrificed for my freedom, for the One who died for me to be forever free.

How about you? Did you have a chance to celebrate this weekend?

Follow on Bloglovin

rest

rest

glorious skies

glorious skies

glorious skies

The skies over Indiana can be glorious.

True, Indiana may not  be able to boast of having the mountains that I grew up loving, but it does have glorious, wide open, sometimes breathtaking skies. And far too often I’m too busy to notice.

I get so wrapped up in being wife, mother, sister, daughter, friend and handmade business owner that I forget to take the moments needed to absorb the beauty I love so dearly and rest.

Does the same thing ever happen to you?

My soul needs rest just as much as my body. It needs time to refocus on the Creator in order to create well, but too often I push that aside for “later” or “when I’m not so busy”.

Today I’m purposing to pull back just a bit from this virtual world {if only for a day}, to leave your orders for tomorrow, to take the time to soak in the beauty that we have been given and to cherish the moments.

And I hope you that are doing the same <3


p.s. do you have any tips to help yourself rest in this busy world? please share!

p.p.s. here are some other thoughts on resting your soul and finding joy

little Instagram bits

little Instagram bits

the photos that I capture on Instagram are just little bits and pieces of our life, and it’s really interesting to see what moments I capture {and which ones I don’t} – of course, it seems as if {since I instagram from our iPad} I only capture the things that stand still.

Which of course explains why Emma Grace, Ian and John don’t show up very often, but flowers, projects and Olivia do. Of course :)

If you’d like to follow along, I’m @pltmarket on Instagram <3

birthday dinnerI had a birthday a few weeks ago and my husband treated me to a night out – at a local dinner theater! It was such a fun way to celebrate, completely different from our normal routine and definitely made it a birthday to remember :)

kitchen window lovelies flowers on our kitchen windowsill. Some were left over from our booth at the Hobnob Market, some were from my little cuties for my birthday and some from our yard. Love looking at their beauty as I do the dishes!packing labels I posted this pic and asked if any of you could guess what it was of – and Elizabeth was right! I had opened a fresh box of manilla labels and loved how neat and tidy they wereIMG_0012 Our little guy turned three! And I’m just beginning to post the details of the party :)sweet baby!sweet baby girl. She gets sweeter each and every day – hard to imagine that she’ll be even sweeter and more dear as time goes on!

dance!Instagram has video now! And I posted this one of Emma Grace dancing at breakfast :)a boy and a pool ... Finally warm enough to swim! And Ian discovered that our new {to us} pool has a bungehole {drain hole} which means that I have a VERY eager helper when it comes to draining it :)happy girl! Happy girl bright and early – oh, so early on this morning!mmm, lunch ...Sometimes I forget to eat lunch with the kids, and end up with “meals” like this in the mid afternoon – brownie with peanut butter and coffee.
zinnia love
Our flowers have begun to bloom, and I brought a zinnia in to keep me company as I waded through a day’s worth of emails :)

lovin' his baby Ian loves his baby sister sooooo much!baking soda and vinegar another IG video – this time of a rainy day project I’ve posted here before.

Winnie the Pooh + swim goggles

they were so patient as I got things ready to go over to my in-laws’ for the 4th :) Watching Winnie the Pooh {while wearing swim goggles, of course} helped pass the time :)

I hope you have a truly lovely and relaxing weekend!


life rearranged
<3

customer love – nursery edition

customer love – nursery edition

Each time a customer leaves a comment saying how much they love their purchase, it makes my day. I especially love it when they tell their friends and send me photos of how they have used the things that they have bought!

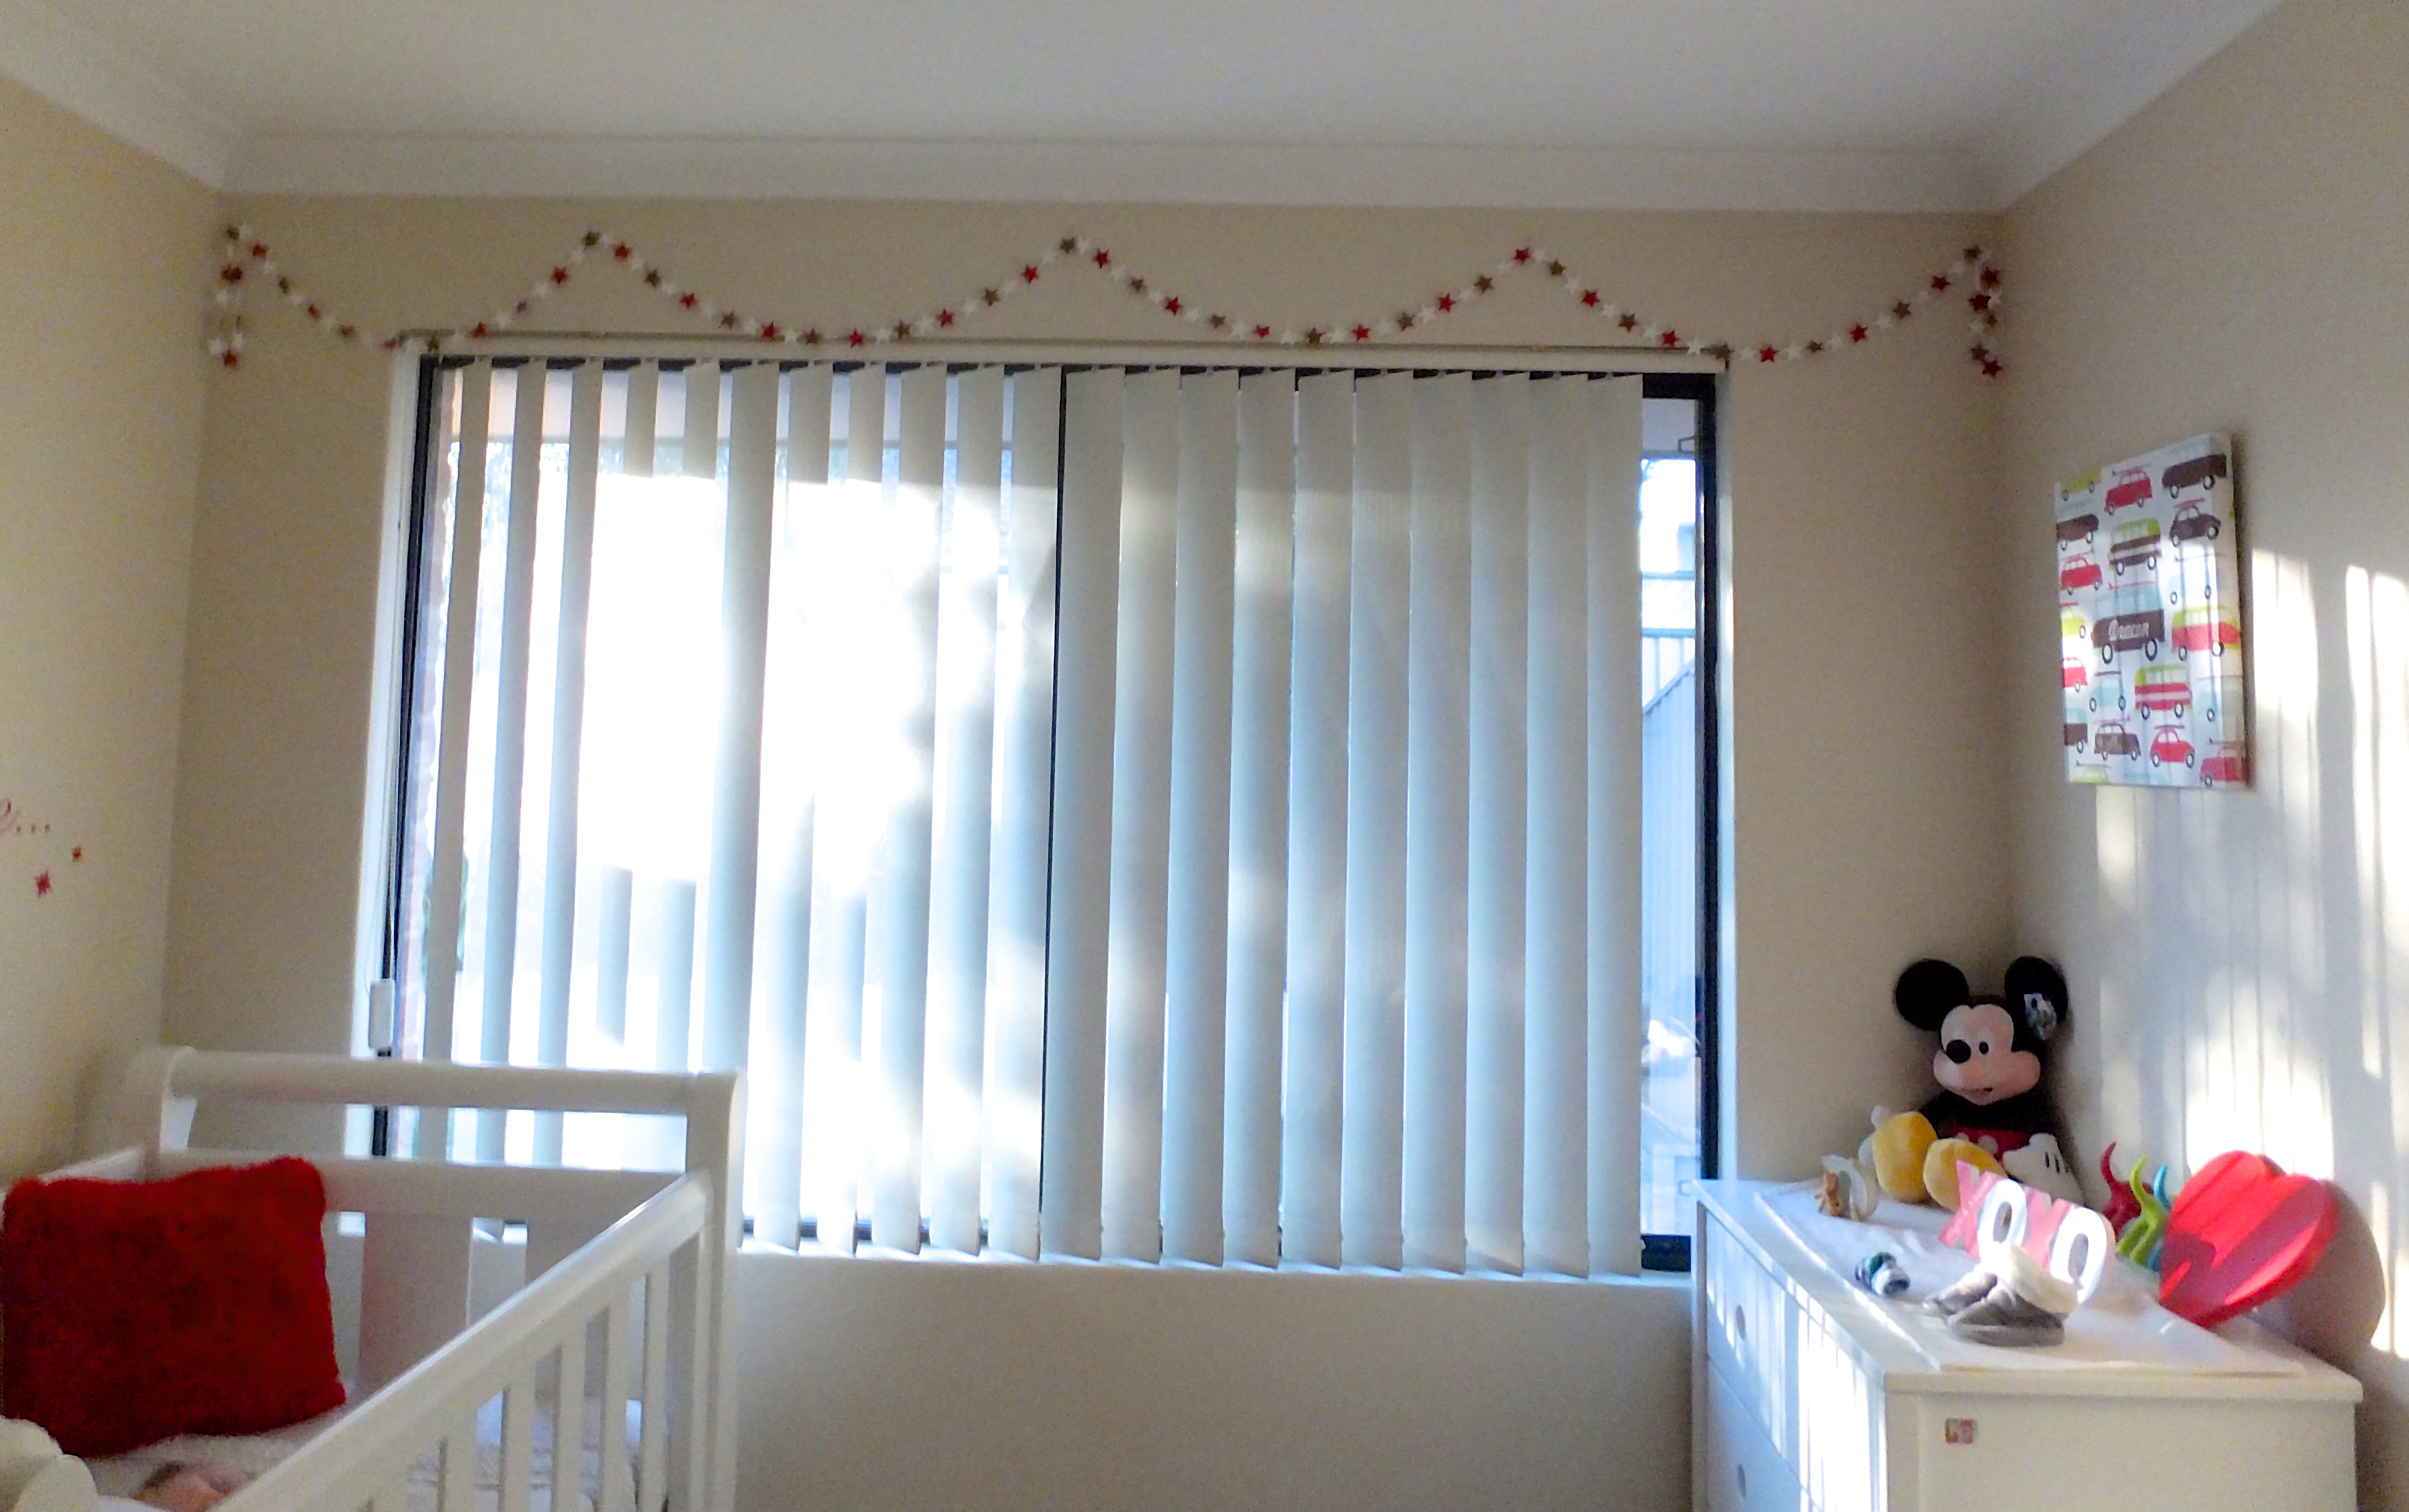
A few weeks ago a mama in Australia ordered our Red, White and Brown Stars Garland to accent the room she was preparing for her baby boy, and she was kind enough to share a photo of how the room is coming together:

a darling, starry nursery for a baby boyIsn’t it too sweet?! I love how the red stars tie in with the hearts and the cars, and the brown is the same shade as the cars in the wall hanging! She’s definitely pouring love into this room for her wee man, and it shows :)

Do you have photos that you’d like to share? If so, you can either email them to me at elizabeth@pltmarket.com or tag them with #thepathlesstraveledmarket on Instagram – we’d all love to see your ideas!

{by the way, did I mention that I often send “thank you” coupons to the lovelies who let me share their photos with you? Yep, I do :)}

Happy Friday! Are you thinking about placing an order this weekend? Don’t forget to use the FREE shipping coupon code of JULY4TH when you do! It’s good on any order of $5 or more and

XO

we have a winner! {and some blog housekeeping}

we have a winner! {and some blog housekeeping}

well, it’s that time – the giveaway has ended {did you have a chance to enter?} and we have a winner! Rachel W., be looking in your inbox for an email from me!

red, white and blue from the Path Less Traveled

{this photo is just a lovely bit from our yard the other day and really has nothing to do with the post – but I couldn’t leave you without a bit of eye candy!}

In other news, I’m sure you’ve heard by now that Google Reader has come to an end. Have you found a new favorite way to get updates from your favorite blogs? My favorite is to just get them emailed straight to my inbox {if that’s your favorite also, you can request these posts to wing their way to you, too!} but for the blogs that don’t have an email option, I’ve been using Bloglovin’. {have you chosen something different, such as Feedly? what do you think? I’d love to hear your thoughts in the comments!}

If you’d like to give Bloglovin’ a shot, here’s a handy dandy sign-up button:

Follow on Bloglovin


or you can just go old-school {but it’s a blog – how old-school can it be? I digress …} and come over via a bookmark on your internet browser or just look us up! If you have any questions or if trouble with the links, feel free to email me and I’ll do my best to help you get it straightened out :)


sweet baby

sweet baby

Because some days, I just need a reminder to soak in this sweet baby.

sweet baby girl: the Path Less TraveledBecause really, no matter how many things should be done today, being her mother and loving on her is one the few that absolutely need to be done.

And one of the few things I will never, ever regret taking the time to cherish.

What bit of your life do you need to slow down and cherish today? May you take a moment this evening to soak in those that are dear to you, to worship the One Who gave them, and to rest. {and I need to hear this just as much as you, if not more!}


<3

p.s. remember the enter the giveaway!

how Tuesday: DIY Balloon Garland Tutorial!

how Tuesday: DIY Balloon Garland Tutorial!

as promised, today for how Tuesday I have a tutorial for the DIY Balloon Garland!

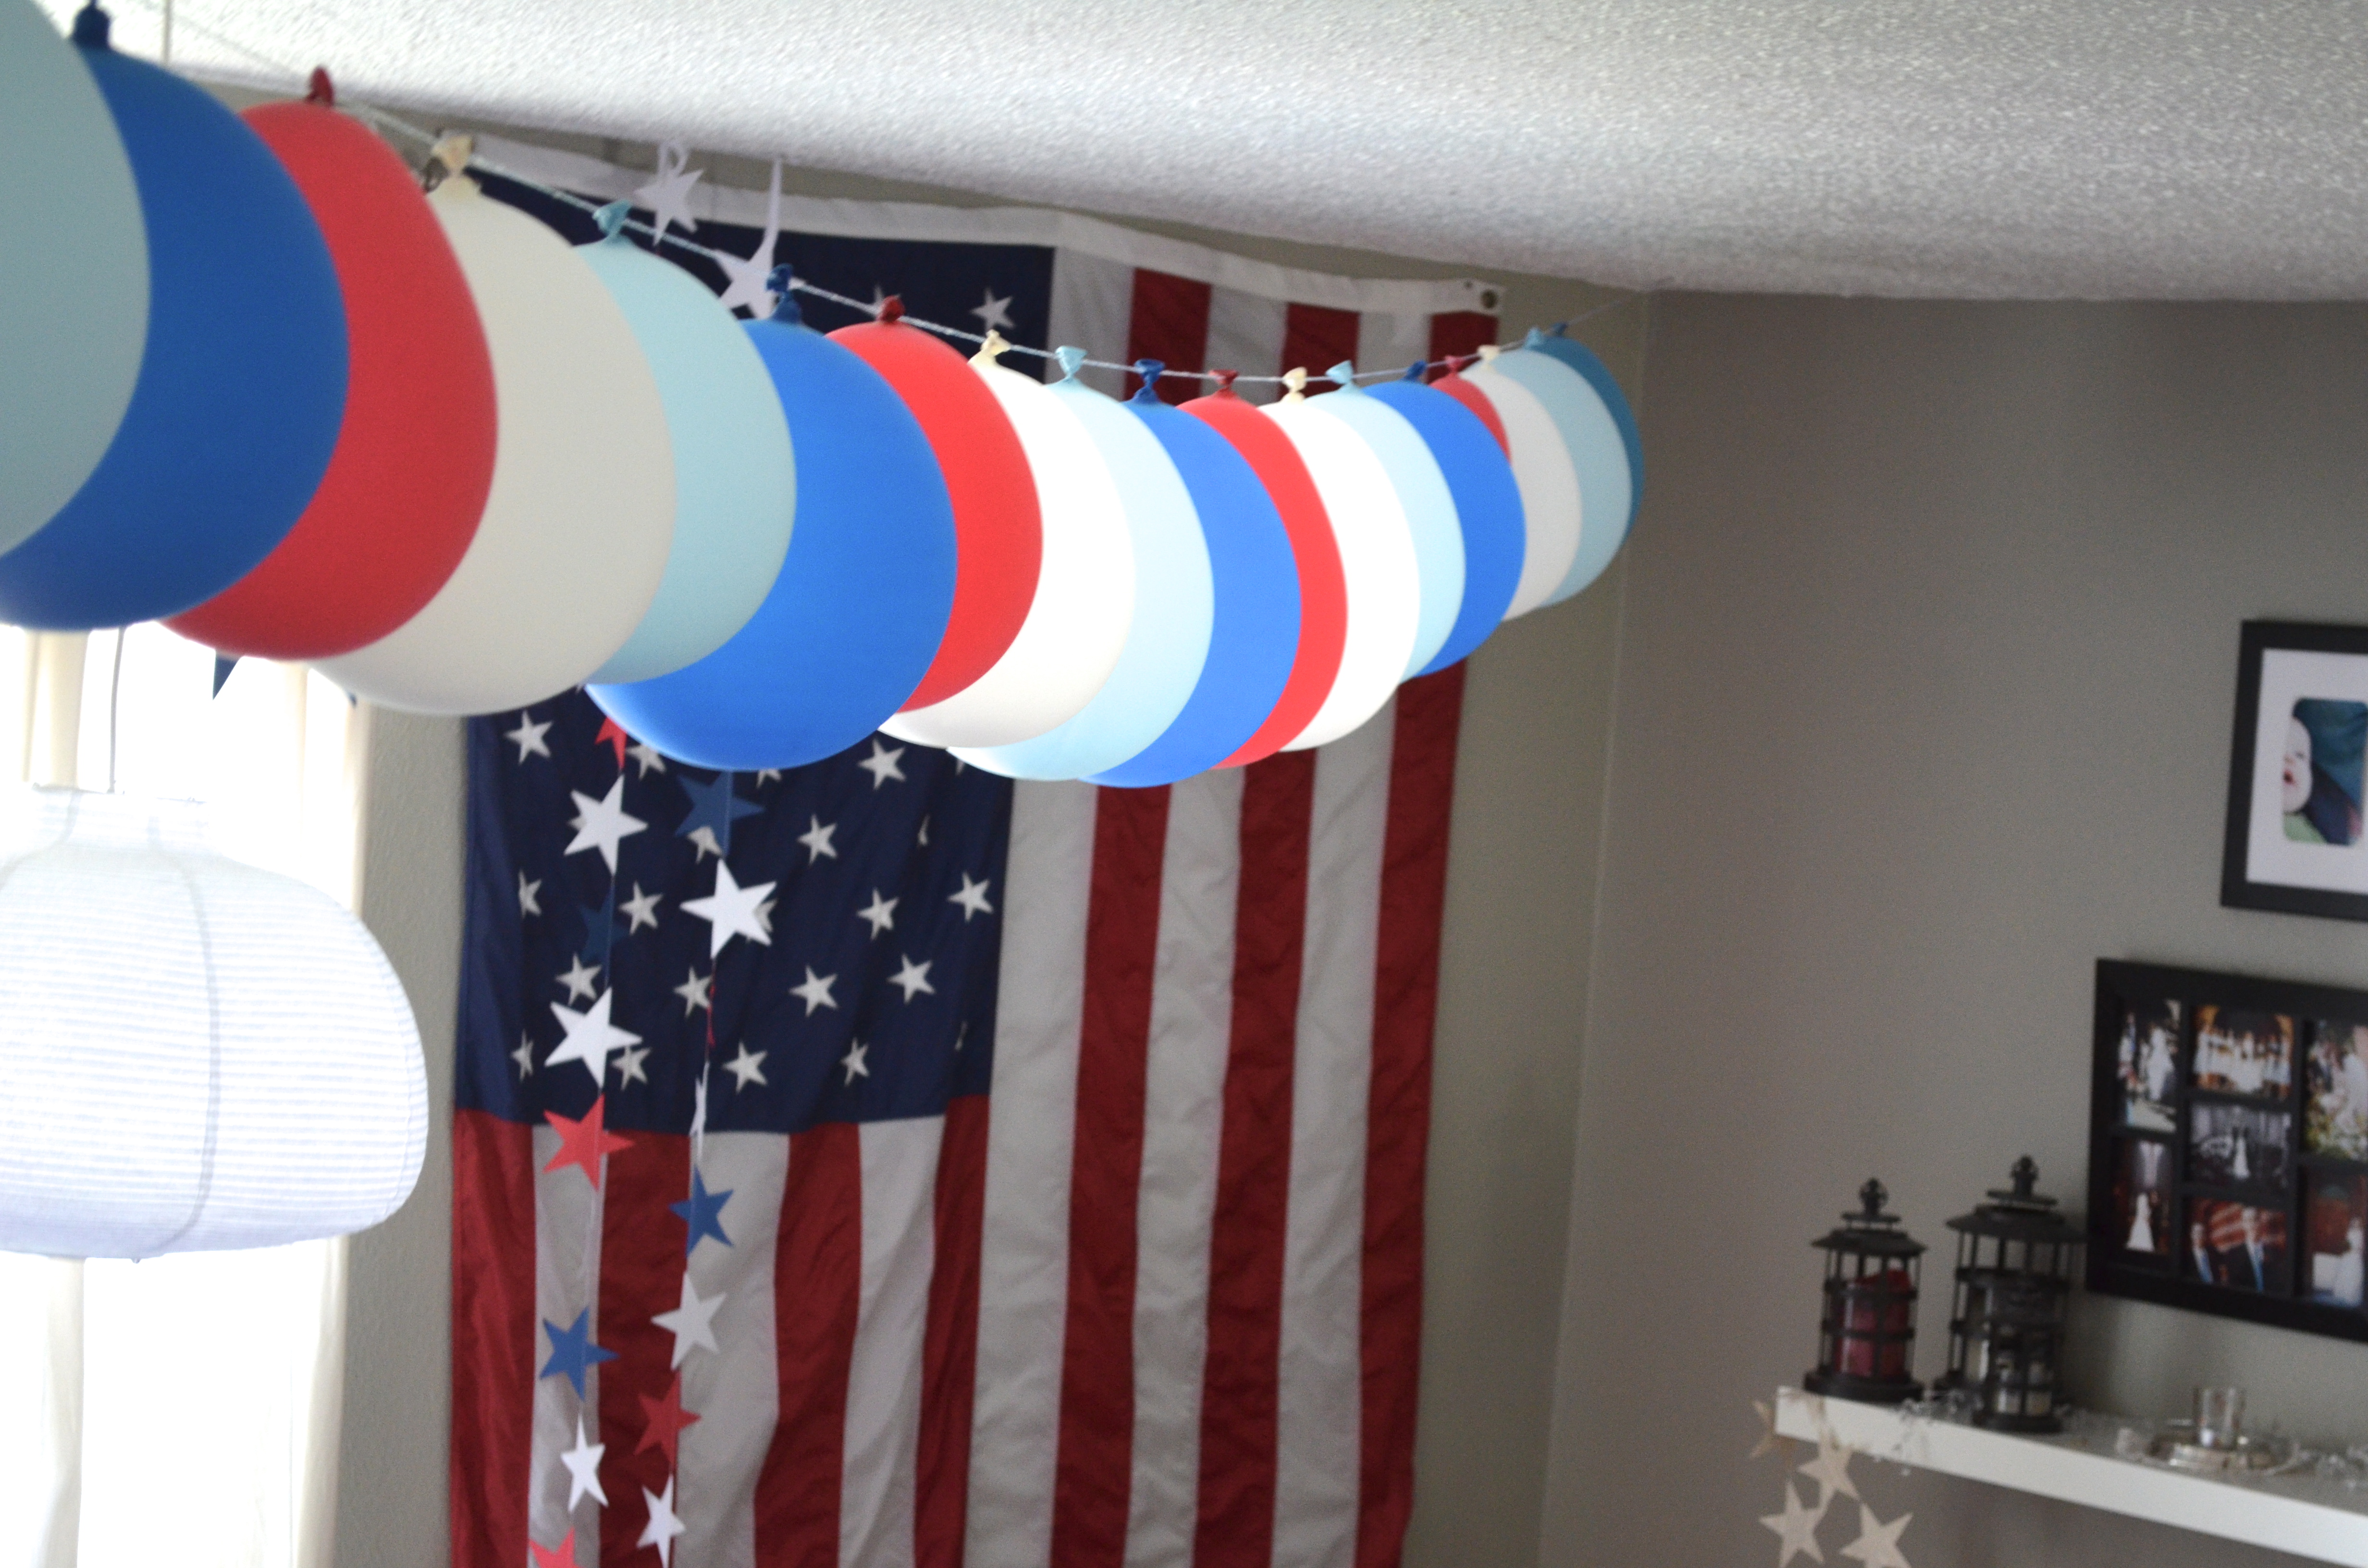
how Tuesday: DIY Balloon Garland Tutorial from the Path Less TraveledIt makes a big impact for an incredibly small investment, and can be customized in an almost endless array of colors! Want a rainbow? No problem. Monochromatic more your style? Again, no problem. Seriously, you can use this for any of life’s celebrations from baby showers, birthdays, graduations (school colors!}, bridal showers, casual receptions, housewarmings … even retirement parties!

how Tuesday: DIY Balloon Garland Tutorial from the Path Less Traveled materials: balloons in your preferred color{s}, a needle with a large eye {hole for the twine}, twine {or narrow ribbon}, scissors, and thumbtacks {if you’re planning on hanging it outside, you might prefer to tie the garland up and not need the tacks}how Tuesday: DIY Balloon Garland Tutorial from the Path Less Traveled step 1: measure the length you’d like your garland to be and choose your pattern – I decided to use red, white and two shades of blue for Ian’s party – {You might like a monochrome look, a random look, or some other variation!} and inflate your balloons. Having an assistant for this step can be very helpful!how Tuesday: DIY Balloon Garland Tutorial from the Path Less Traveled step 2: thread your needle with the twine – I chose to use twine for this due to it’s strength {thread just wasn’t going to be strong enough!}, but you could also choose to use a narrow ribbon or some other narrow type of cording.how Tuesday: DIY Balloon Garland Tutorial from the Path Less Traveled step 3: begin sewing the garland – poke the needle through the “tag” of the balloon, not too close to the end or it might rip out, just somewhere in the middle …how Tuesday: DIY Balloon Garland Tutorial from the Path Less Traveled…pull the needle and cording through, and continue with the rest of your balloons.

how Tuesday: DIY Balloon Garland Tutorial from the Path Less Traveledstep 4: tie a loop in the end of your cord to prepare for hanging. If you’re hanging the balloon garland outside, you might choose to skip the loop and leave a long tail {to use for tying} instead.how Tuesday: DIY Balloon Garland Tutorial from the Path Less Traveled step 5: put a tack through afore mentioned loop and stick ‘er up there!how Tuesday: DIY Balloon Garland Tutorial from the Path Less Traveled

how Tuesday: DIY Balloon Garland Tutorial from the Path Less Traveled step 6: string out the garland across your desired distance and repeat step 5 …

how Tuesday: DIY Balloon Garland Tutorial from the Path Less Traveled…while taking a moment to admire how pretty it looks hanging across your room. :)

how Tuesday: DIY Balloon Garland Tutorial from the Path Less Traveled how Tuesday: DIY Balloon Garland Tutorial from the Path Less Traveled

And that’s it! You can make several strands and hang them together, leave it to stand alone or, as you can see from the first photo, combine it with crepe streamers! Each option looks great – with a project like this, it’s hard to go wrong :)

If you haven’t taken a moment to enter the giveaway, you might want to click over and do that – it’s super easy to enter, and you might win a set of the newest red, white and blue star garland and matching cupcake toppers!

<3


sharing this on Skip To My Lou Sew Can Do and C.R.A.F.T.

Follow on Bloglovin