Browsed by
Author: Elizabeth Smillie

Hello there! I'm Elizabeth. Welcome to my website and blog space. All the products in my little shop are hand crafted and stem from my desire to provide creative and high quality products that make people feel lovely. I believe the little moments of life matter, every day should be celebrated, and that the beauty all around us is a gift from the Creator to be enjoyed. I'm married to a wonderful guy who happens to be my greatest cheerleader and best friend, mama to three little ones and currently reside in the heartland of America.
little pieces

little pieces

the photos that I capture on Instagram are just little pieces of our life, and it’s really interesting to see what moments I capture {and which ones I don’t} – of course, it seems as if {since I instagram from our iPad} I only capture the things that stand still. Which of course explains why Emma Grace, Ian and John don’t show up very often, but flowers, projects and Olivia do. :)

here are some of the little pieces of this last week:

blooms in our yard – they make me soooo happy! clockwise: anemones, our new peach tree, returning tulips and sprouting veggies. If only I could keep these lovelies all year long <3IMG_2295 packing up a bunch of Atlas Heart Cupcake Toppers – they are always so lovely!IMG_2298John turned on the radio when he arrived home Monday afternoon and my heart broke – it seems as if there has been a fresh tragedy every day to add to our prayers. It makes my heart long for heaven more, but also yearn to love my darlings that much harder. “for God has not given us a spirit of fear, but of power, love and a strong mind”
frametastic-1 we introduced Dessert Garlands to the site!IMG_2304 Olivia came down with a fever on Tuesday/Wednesday and then shared it with me – we are just now catching up with everything that went undone while we did extra cuddling <3IMG_2312the sewing corner – so many, many miles of garland get sewn here, so many projects for loved ones and tiny clothes made {and mended}
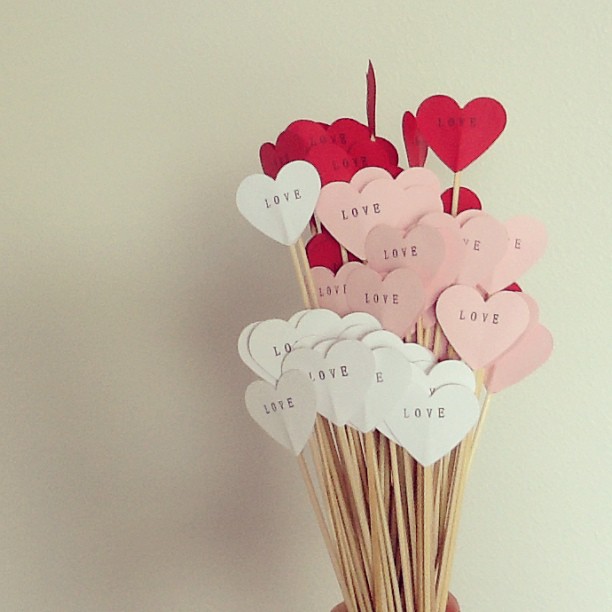
IMG_2313 feeling better – yay!!!I came back to my project after getting the kiddos a snack one morning to find this: a Nerf gun, dart and little boy tools mingled with the white wedding hearts ;D4bc8af3ea9d911e284fa22000a1f9c87_7 so much love! a bundle of 75 red, pink and white heart dessert toppers, each stamped with “LOVE”IMG_2328 on Saturday I was all caught up with orders {yippee!} and took the rest of the day to catch up on cleaning – and baking. Apparently, making things with sugar rests me :) then, once the littles were in bed for the night, John and I stayed up with a movie, cheesecake AND cookies and a game of Scrabble :)IMG_2329

and last, but not least, the GIVEAWAY! if you haven’t entered yet to win one of our new Gold Glitter Scallop Dessert Garlands, you might want to head over and enter :)

see you soon! <3


life rearranged


Follow my blog with Bloglovin

new stuff – and a sweet giveaway

new stuff – and a sweet giveaway

So, I mentioned yesterday that there was a giveaway coming :) If you follow us on Facebook, you might have seen that we have added Dessert Garlands to the shop! To celebrate the new stuff, we’re having a sweet little giveaway for you {and any of your friends that you’d like to share this with ;D}!

Giveaway! Gold Scallop Cake Garland

One of the most versatile of our new cake garlands is this Glittery Gold Scallop Garland, and you can enter for a chance to win it! It would be perfect for so many occasions – birthdays, a wedding or anniversary, New Year, Christmas desserts, or even to dress up a dark corner of your home {did you see what I did to my fern for Easter?}. Here’s the description of it in the shop:

Creative and trend setting, these glittery gold scallop cake garlands will top your next cake beautifully. Each garland is carefully created to give your cake a custom look that shimmers in the light. Wedding, birthday, or just a special dessert, these cake garlands are a must! Each garland is made from 2 inch wide scallops, attached to a pair of ten inch tall bamboo skewers creating the bunting.

So, what do you think? Would you like to win one? ;D Or do you know someone who would be just tickled to see this show up in their mail box?

giveaway details: Giveaway open until April 24 at 11:59 pm EST. To enter, use the rafflecopter widget below. One unique winner will be emailed + announced on Thursday, April 25th at the top of this blog post. I can’t wait to see who wins! <3

a Rafflecopter giveaway


p.s. I’d LOVE it if you shared this with your friends – the more the merrier, right? :)

how-Tuesday – recycled crayons

how-Tuesday – recycled crayons

Have you ever thought of buying small packs of crayons to include in a gift for a child? or to stuff in a busy bag or child’s party favor bag? Well, today we have a quick, eco-friendly, child do-able {with a bit of encouragement and supervision from an adult}, perfect for Earth Day how-Tuesday project – recycled crayons! And, assuming you have crayon bits already, it’s free {always a win!}!

One of the lovely things about this project is that you can make the crayons into whatever shape you choose to suit your theme or the child’s interests – having a beach themed wedding? Use a sea creature or shell shaped mold and viola! Custom shaped crayons!

materials needed: crayon pieces, mold {we used a mini muffin tin with silicon liners – you can also use a greased muffin tin, a silicon candy mold, or even small cookie cutters on a foil lined baking sheet}, an oven

making recycled crayons via the Path Less Traveledstep one: prepare your crayons. Unwrap the one ones that still have paper on them, and, if needed break them further down so that they will fit in your mold
making recycled crayons via the Path Less Traveled

 *note: if the crayons have gotten hot {such as in the diaper bag that you might have left in your car? *ahem*}, peeling off the paper might take a bit of work :)making recycled crayons via the Path Less Traveledstep two: arrange your bits in the mold – we chose to arrange by color, but you might decide to do a variety together – the combination options are endless!making recycled crayons via the Path Less Traveleda little artist hard at work {i’ve been told that I make the same face when I’m concentrating on my work ;)}making recycled crayons via the Path Less Traveledstep three: preheat your oven to 275* {135 celsius} and put in your mold. This little guy was soooo patient!

making recycled crayons via the Path Less Traveledthe pan after about 3 minutes

Keep an eye on your crayons – the wax will smoke once it has completely melted {ask me how I know ;)}

making recycled crayons via the Path Less TraveledStep four: Pull them out of the oven and let them cool. They will be cool enough to handle after a few minutes, but will take just a few minutes longer before they are “set” entirely through.
making recycled crayons via the Path Less Traveled
 Step five: enjoy! At this point they are ready to package or use to color with … we did a bit of both :) My little ones love coloring with these larger sized crayons!

I’d love to hear if you try this and what you do with your new shapes! A collection of multicolored Lego men marching through the crayon box, perhaps? Or maybe some colorful hearts to remind your guests of your special day? Might I suggest using some bags like these to package them? They’d be so lovely!

blessings for a lovely day,

XO

p.s. there will be a giveaway tomorrow!!!

p.p.s. would you like to see more posts like this? sign up for my updates and you’ll receive my newest content and exclusive deals in your inbox!

{I’m sharing this on Today’s Creative Blogthe Girl Creative,  Sew Can DoA Vision To RememberSkip To My LouSew Chatty and C.R.A.F.T.}

Follow on Bloglovin

customer love – parties edition!

customer love – parties edition!

Each time a customer leaves a comment saying how much they love their purchase, it makes my day. I especially love it when they tell their friends and send me photos of how they have used the things that they have bought, and recently you lovelies have sent some super darling ones!
Here are a few of the most recent photos:

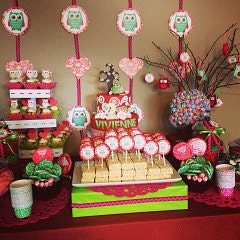
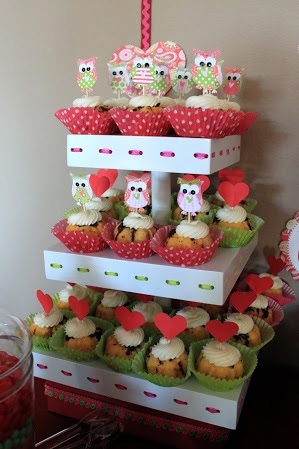
the red heart cupcake toppers in a fun filled owl and heart birthday – so cute!

aren’t the owls and hearts just darling together? 

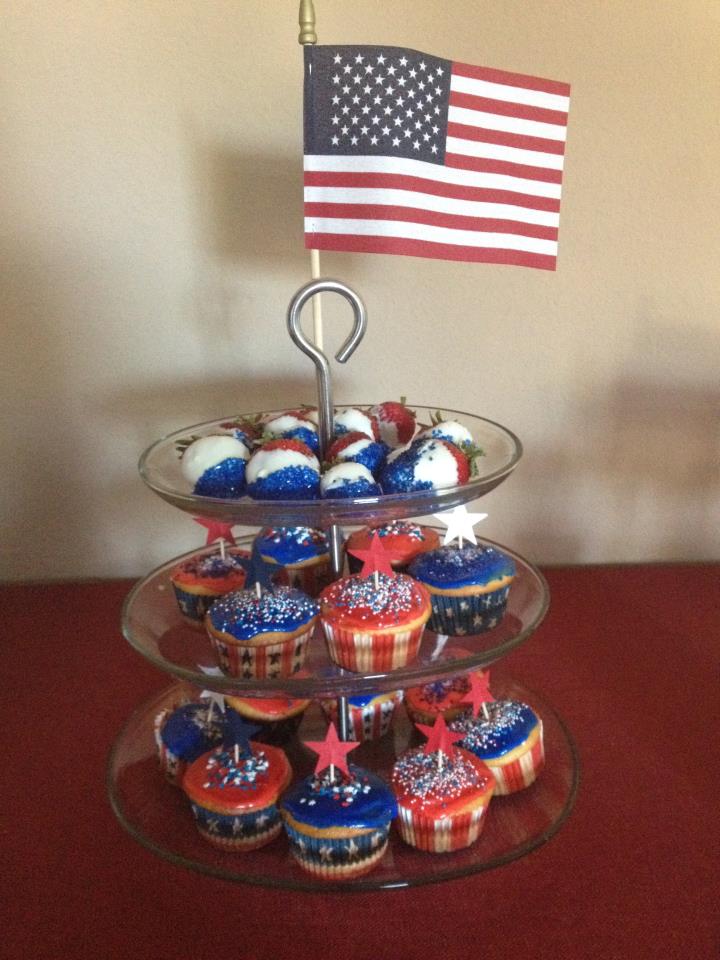
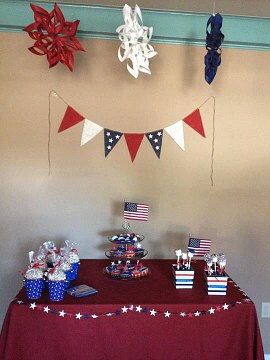
It’s so simple to add a festive and patriotic touch to your desserts with the Red, White and Blue Star set – and even more striking with a miniature flag to top them off!

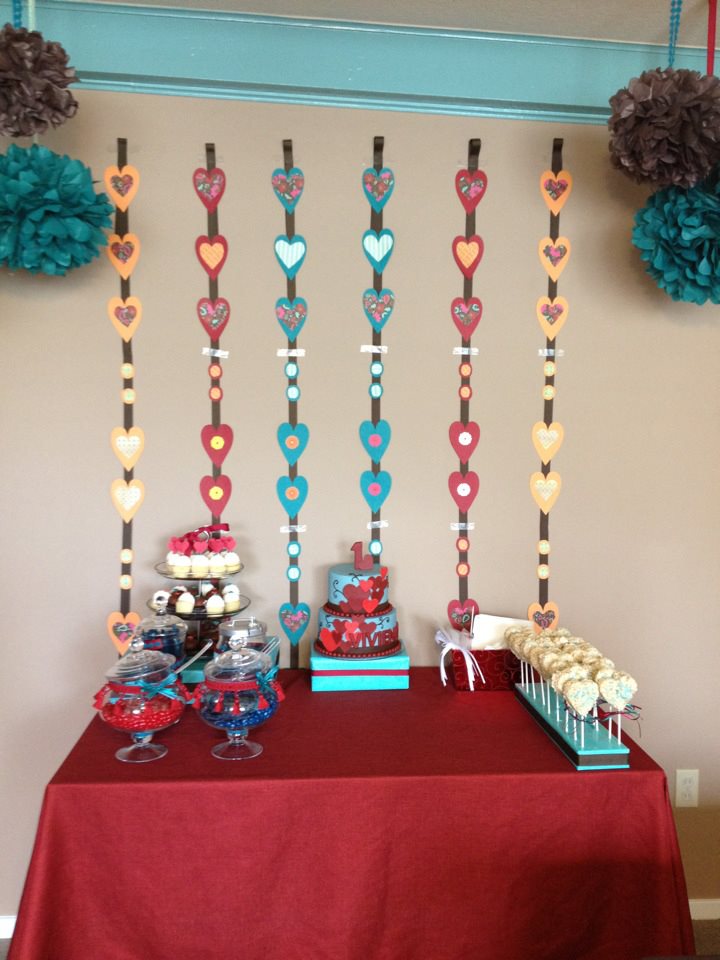
The red heart toppers again, this time for a little girl’s first birthday – love! The red is really striking against the colors of aqua, teal and yellow :)

The Red Heart Garland sweetening a display of photos from the baby girl’s first year – I love this idea!

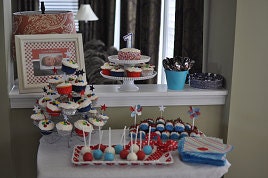
the Star cupcake toppers again, this time adding a crisp and masculine touch to a little guy’s first birthday – can you see the little number “one” on the cake? I love how creative you all are!

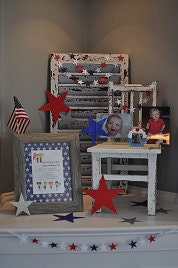
She even used some of the star chair garlands to drape in front of {and in!} the super darling Birthday Boy vignette. Love this!

Do you have photos that you’d like to share? If so, you can either email them to me at elizabeth@pltmarket.com or tag them with #thepathlesstraveledmarket on Instagram – we’d all love to see your ideas!

Don’t forget -there are just a few hours left to save 20% using the exclusive coupon. It expires at midnight tonight! I hope you are all having a truly lovely weekend,

XO

little pieces

little pieces

the photos that I capture on Instagram are just little pieces of our life, and it’s really interesting to see what moments I capture {and which ones I don’t} – of course, it seems as if {since I instagram from our iPad} I only capture the things that stand still. Which of course explains why Emma Grace, Ian and John don’t show up very often, but flowers, projects and Olivia do. :)

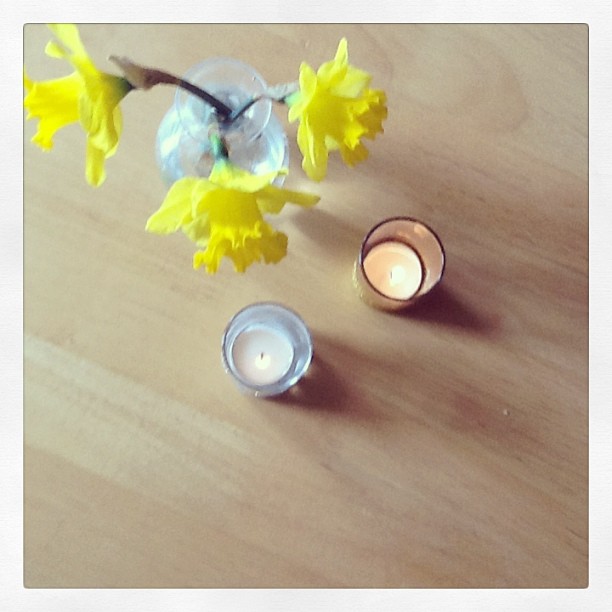
the daffodils and candles on our table, just before I took the photos for {this post}07efc7aa9fc211e2819022000a1f99d8_7 gardening hands – I almost always forget to wear gloves! 78b1eb9ca23511e2890a22000a1fbc9a_7 one afternoon I had a fun surprise – my vintage book page lanterns were featured in an Etsy Weddings email!0266d056a39d11e2942f22000a9f140e_7-1 new product in progress – it means lots of experimenting with colors. Creating new things for you is one of the things I love about having a handmade business <3915aa6d2a2b411e29c6822000a1f9688_7 sleeping babe – just another few days and she is moving from her moses basket to the full size crib we have used for both her sister and brother {onc John gets it down from the attic and I make her some sheets :)}4790e818a08e11e29c4c22000a9e0896_7 Olivia and mama <3

today is our 5th wedding anniversary {did you see the project I posted for it?} and I gave John this sweet “you & me” mug I found <3

coupon from the path less traveled and last but not least, the coupon code for you!

so there you have it! some little pieces of our past week – do you Instagram? If so, did you know that when you post photos of your purchases from the Path Less Traveled and tag them with #thepathlesstraveledmarket, they show up here on the right hand side of the site? It’s a fun way to share with others how you’re using your purchases, and I love seeing them, too!

Also, this weekend I’ll be sharing some customer photos – you’ll love them!


<3

How-Tuesday: anniversary keepsake art

How-Tuesday: anniversary keepsake art

anniversary keepsake art via the Path Less Traveled Come this Friday, my husband and I will have been married for 5 years. 5 amazing years!

To celebrate that milestone, I have a sweet anniversary keepsake that I’d like to share with you for today’s How-Tuesday – of course, it doesn’t just have to be for an anniversary. You could make a version of this for any special photo: an engaged couple, babies, graduations …. just switch out the marriage vows for a quote or poem and viola! A new piece of art to grace your wall {or to use as a gift – this would make a lovely, cherished gift!}.

anniversary keepsake art via the Path Less Traveled materials needed: your marriage vows {or whatever poem/quote that you’d like to use}, lined paper, vellum {or tracing paper}, a fine point pen, your photo, a frame

optional materials {not pictured}: photo corners, photo matanniversary keepsake art via the Path Less Traveled You’ll need to determine the area that you’d like your writing to cover – if you’d like it to go all the way across your frame or just be centered over your photo. Place your vellum over the lined paper and start writing. {or maybe, if you’re nervous, practice on some scratch paper before starting on the vellum} Take your time! anniversary keepsake art via the Path Less TraveledOnce you’ve finished writing – being careful not to smudge the ink as you go along – you can put the layers of the art together. I used an 11×14 frame with a 4×6 photo, and so of course need a mat to fill out the frame. :) The layers, as I stacked them, are: glass, vellum, mat, photo, cardboard reinforcer that came with frame and frame back.

– Because I chose to place the vellum over the mat instead of under it, I used white photo corners to anchor the corners and add another layer of texture.

Once you have the layers adjusted to your satisfaction, carefully pop them in the frame and secure it. Then either wrap it {if using as a gift} or display on your wall – you’re done!


I can hardly believe that 5 years have already gone by – being married to John has been a blessing each and every day.

This project is a great way for us to be able to see {and be reminded of} our vows on a daily basis, and it has the added effect of renewing my gratefulness for him when I see how he’s fulfilling his vows on a daily basis. God gave me a winner! The congregation at our wedding laughed as I jumped with giddy joy when I heard John say “I do”, and I love being reminded of that moment – and his continuing faithfulness – each day!


xo

Did you miss the coupon I shared yesterday? If so, you might like to click over and check it out – it’s a good one!


{I’m sharing this on the Girl Creative, Sew Can Do, A Vision To Remember, Skip To My Lou, Sew Chatty and C.R.A.F.T.}

have you heard?

have you heard?

Have you heard? Lisa Leonard is launching a NEW line for moms!

Here’s a little something from Lisa about it: “It’s finally here– our brand new Mother’s Day line. I’m so excited about our newest treasures for Mom. We will be launching this line tomorrow, April 9th kicking off the launch with two days of free shipping. Just enter the code ‘ilovemom‘ at checkout {applies only to standard U.S. shipping}.”

I love the new pieces! Especially the Grateful Hearts Wall Hanging – so sweet!

While you’re shopping for your mom or grandma {or yourself :)}, don’t forget the decor for your Mother’s Day meal {by the way, do you celebrate with a special meal like we do?}! Our pink hearts garland and doily garlands would be so lovely, both together and on their own – even outside strung from tree branches if you’re celebrating alfresco! And keep in mind the special discount for our readers, too :)


<3


*the links I’ve included to LisaLeonardDesigns are affiliate links :)

Spring has sprung {finally} and a coupon for you

Spring has sprung {finally} and a coupon for you


Spring has finally sprung and it is lovely.

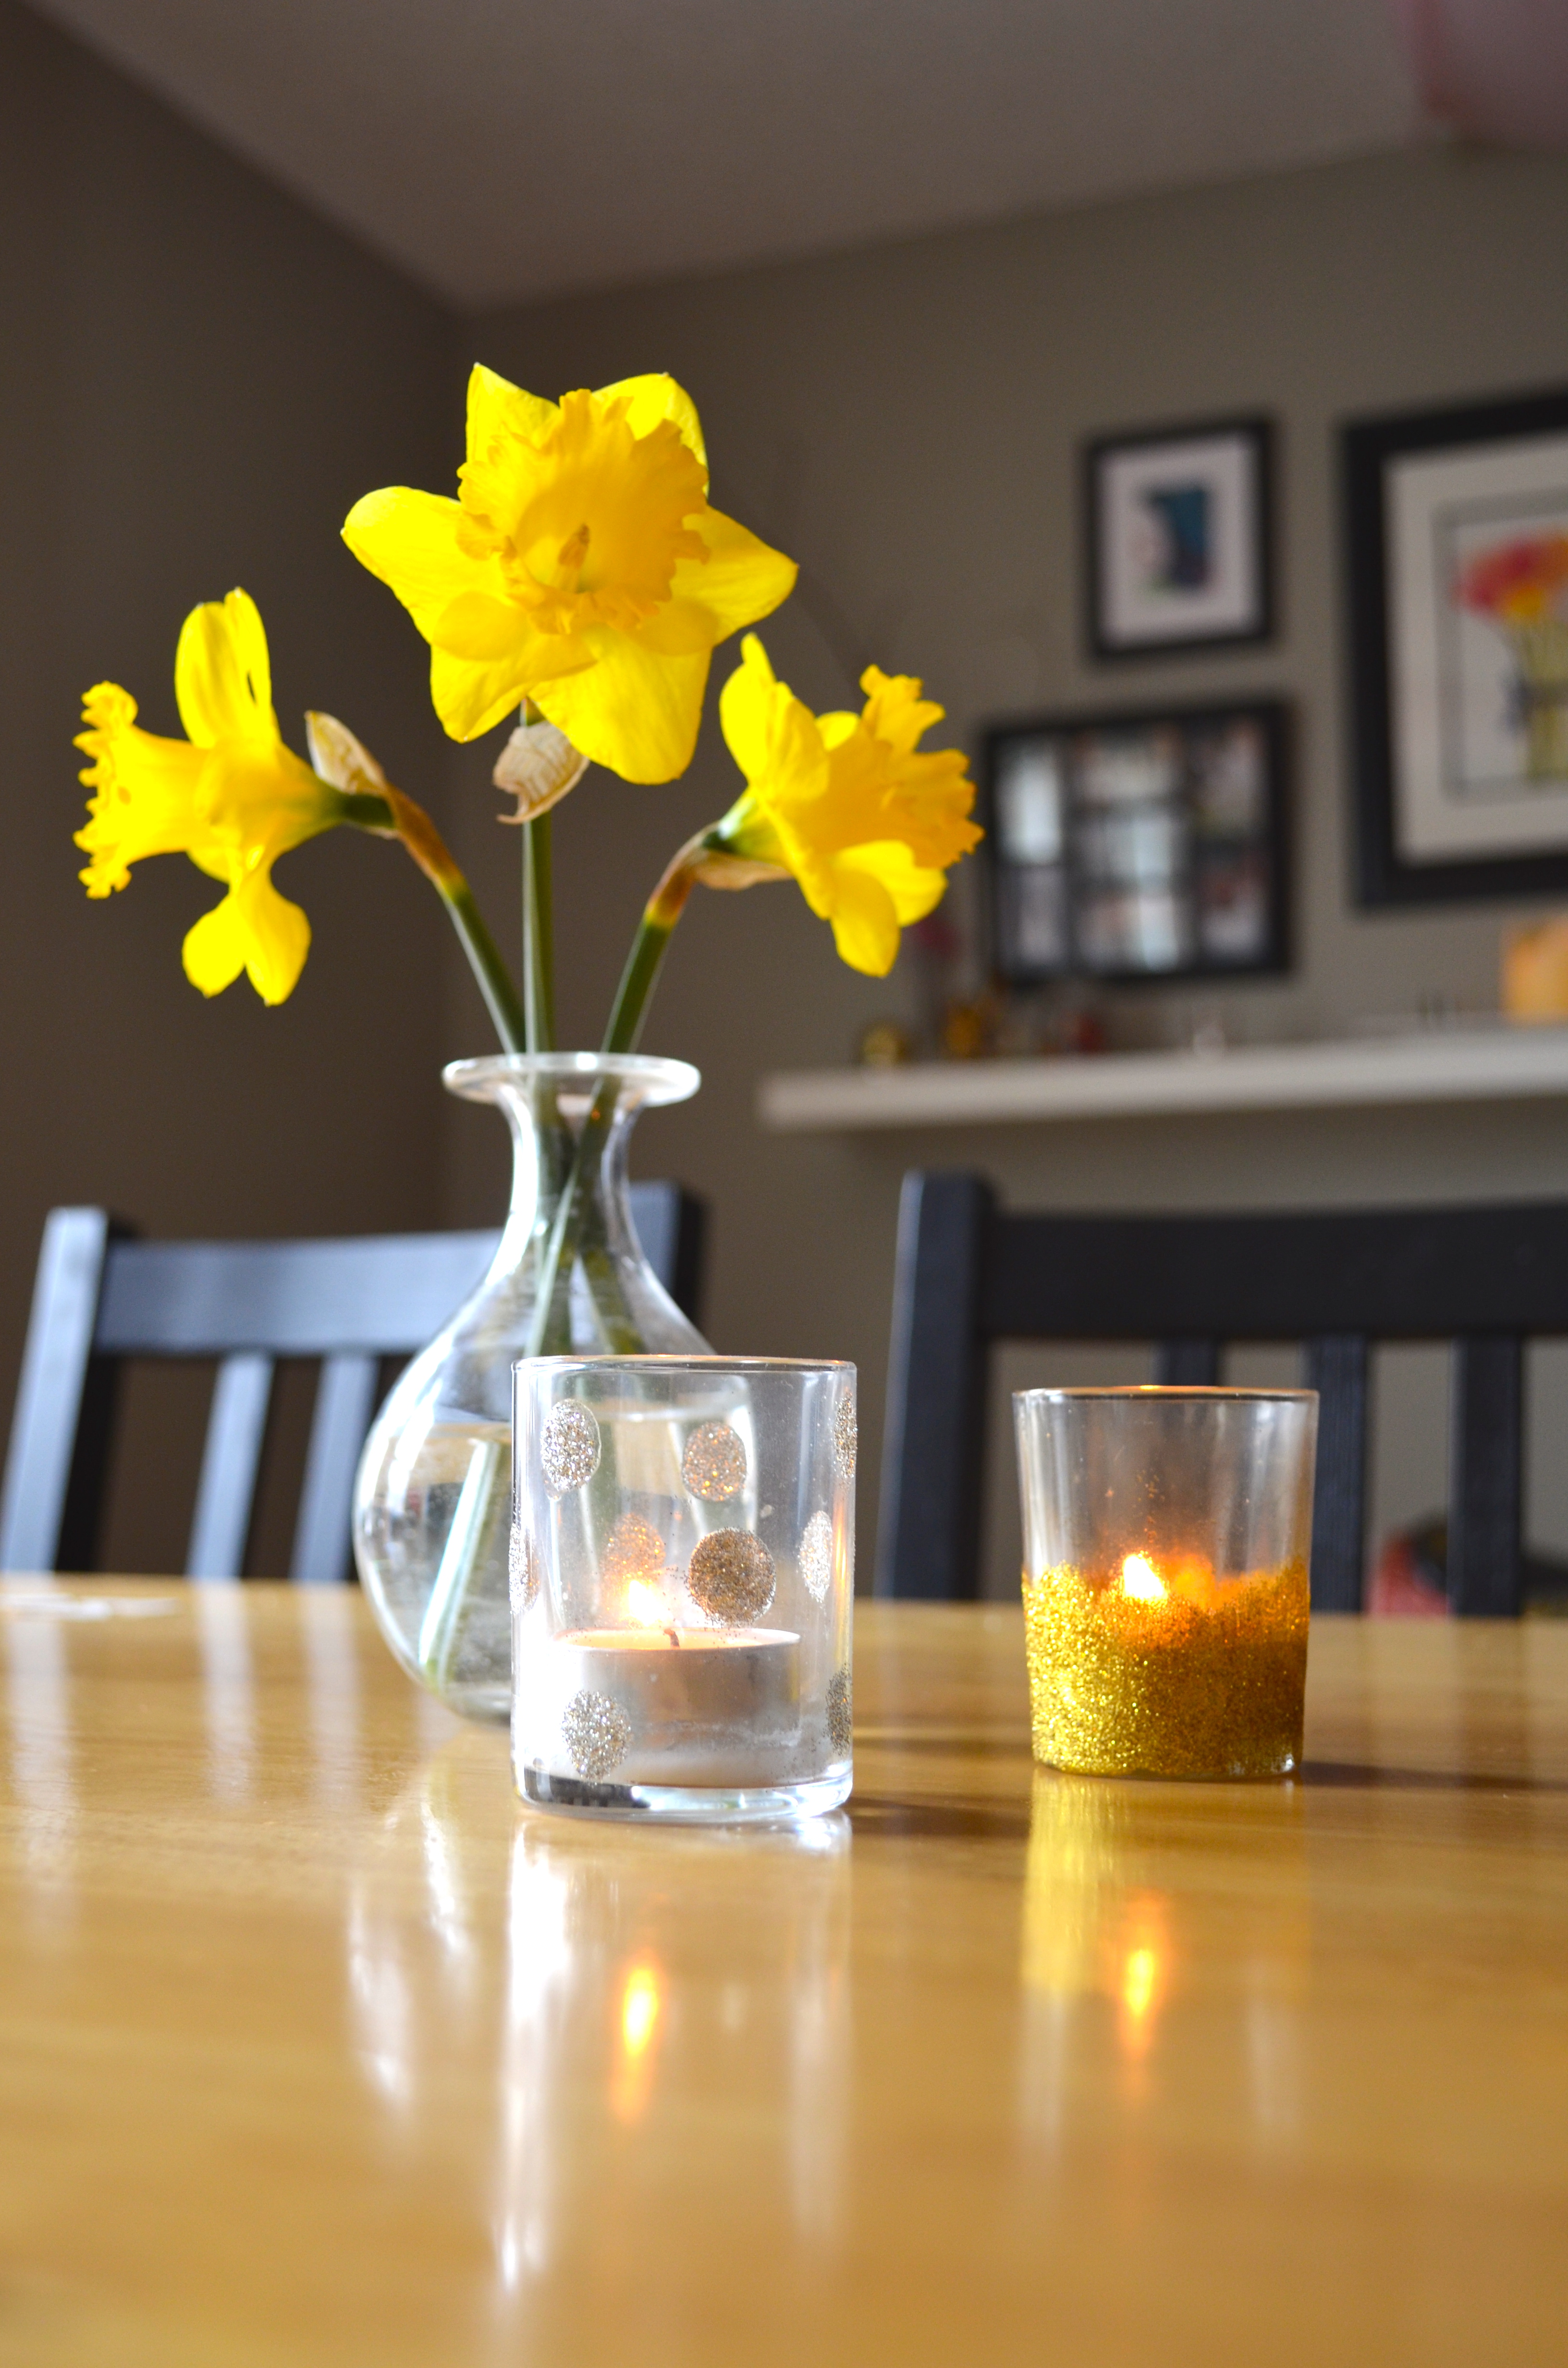
Spring has sprung via the Path Less Traveled I’ve loved anemones for a long time, but they’re a little too pricy as cut flowers for me to indulge – last year I saw a bag of starts for them and scooped them up. It looks like they might be purple or blue and I can hardly wait to see them! Now I’ll get to enjoy them spring after spring, year after year, and maybe as they spread, be able to divide them and share?DSC_0017 pinky orange tulips – another new one from last fall. I’m looking forward to seeing what color they turn out to be :)DSC_0018 faithful daffodils – I planted these the first fall we were here and they’ve been multiplying ever since. Always so cheery!DSC_0019 pots of seeds! hopefully the seedlings will show their heads soon :)DSC_0021sunny daffodils keeping the candles on our table company :)

Has spring come to your neck of the woods? Or, if you’re in the Southern Hemisphere, have you been embracing cooler temps? How do you celebrate the changing seasons?

I’m eagerly looking forward to seeing the trees blooming – of course the trees at my parents’ home in California bloomed quite some time ago and I’ve also been seeing some bloggers’ photos of snow. :) Your location sure does make a difference!

I know many of you are beginning to – or are already in the midst of – planning your late spring and early summer events. Baby showers, birthday parties, Mother’s Day, weddings and graduations – there are so many coming up! To help you get an edge as you prep and plan, I’m offering a coupon to you lovely ones – 20% off of any order of $10 or more! Just enter spring13 as you check out and it will recalculate your total for you. This coupon will be valid for this week only, though, and expires on Sunday April 14, so you might want to take advantage of it while it’s here :)