Browsed by
Tag: prince

making mini crowns

making mini crowns

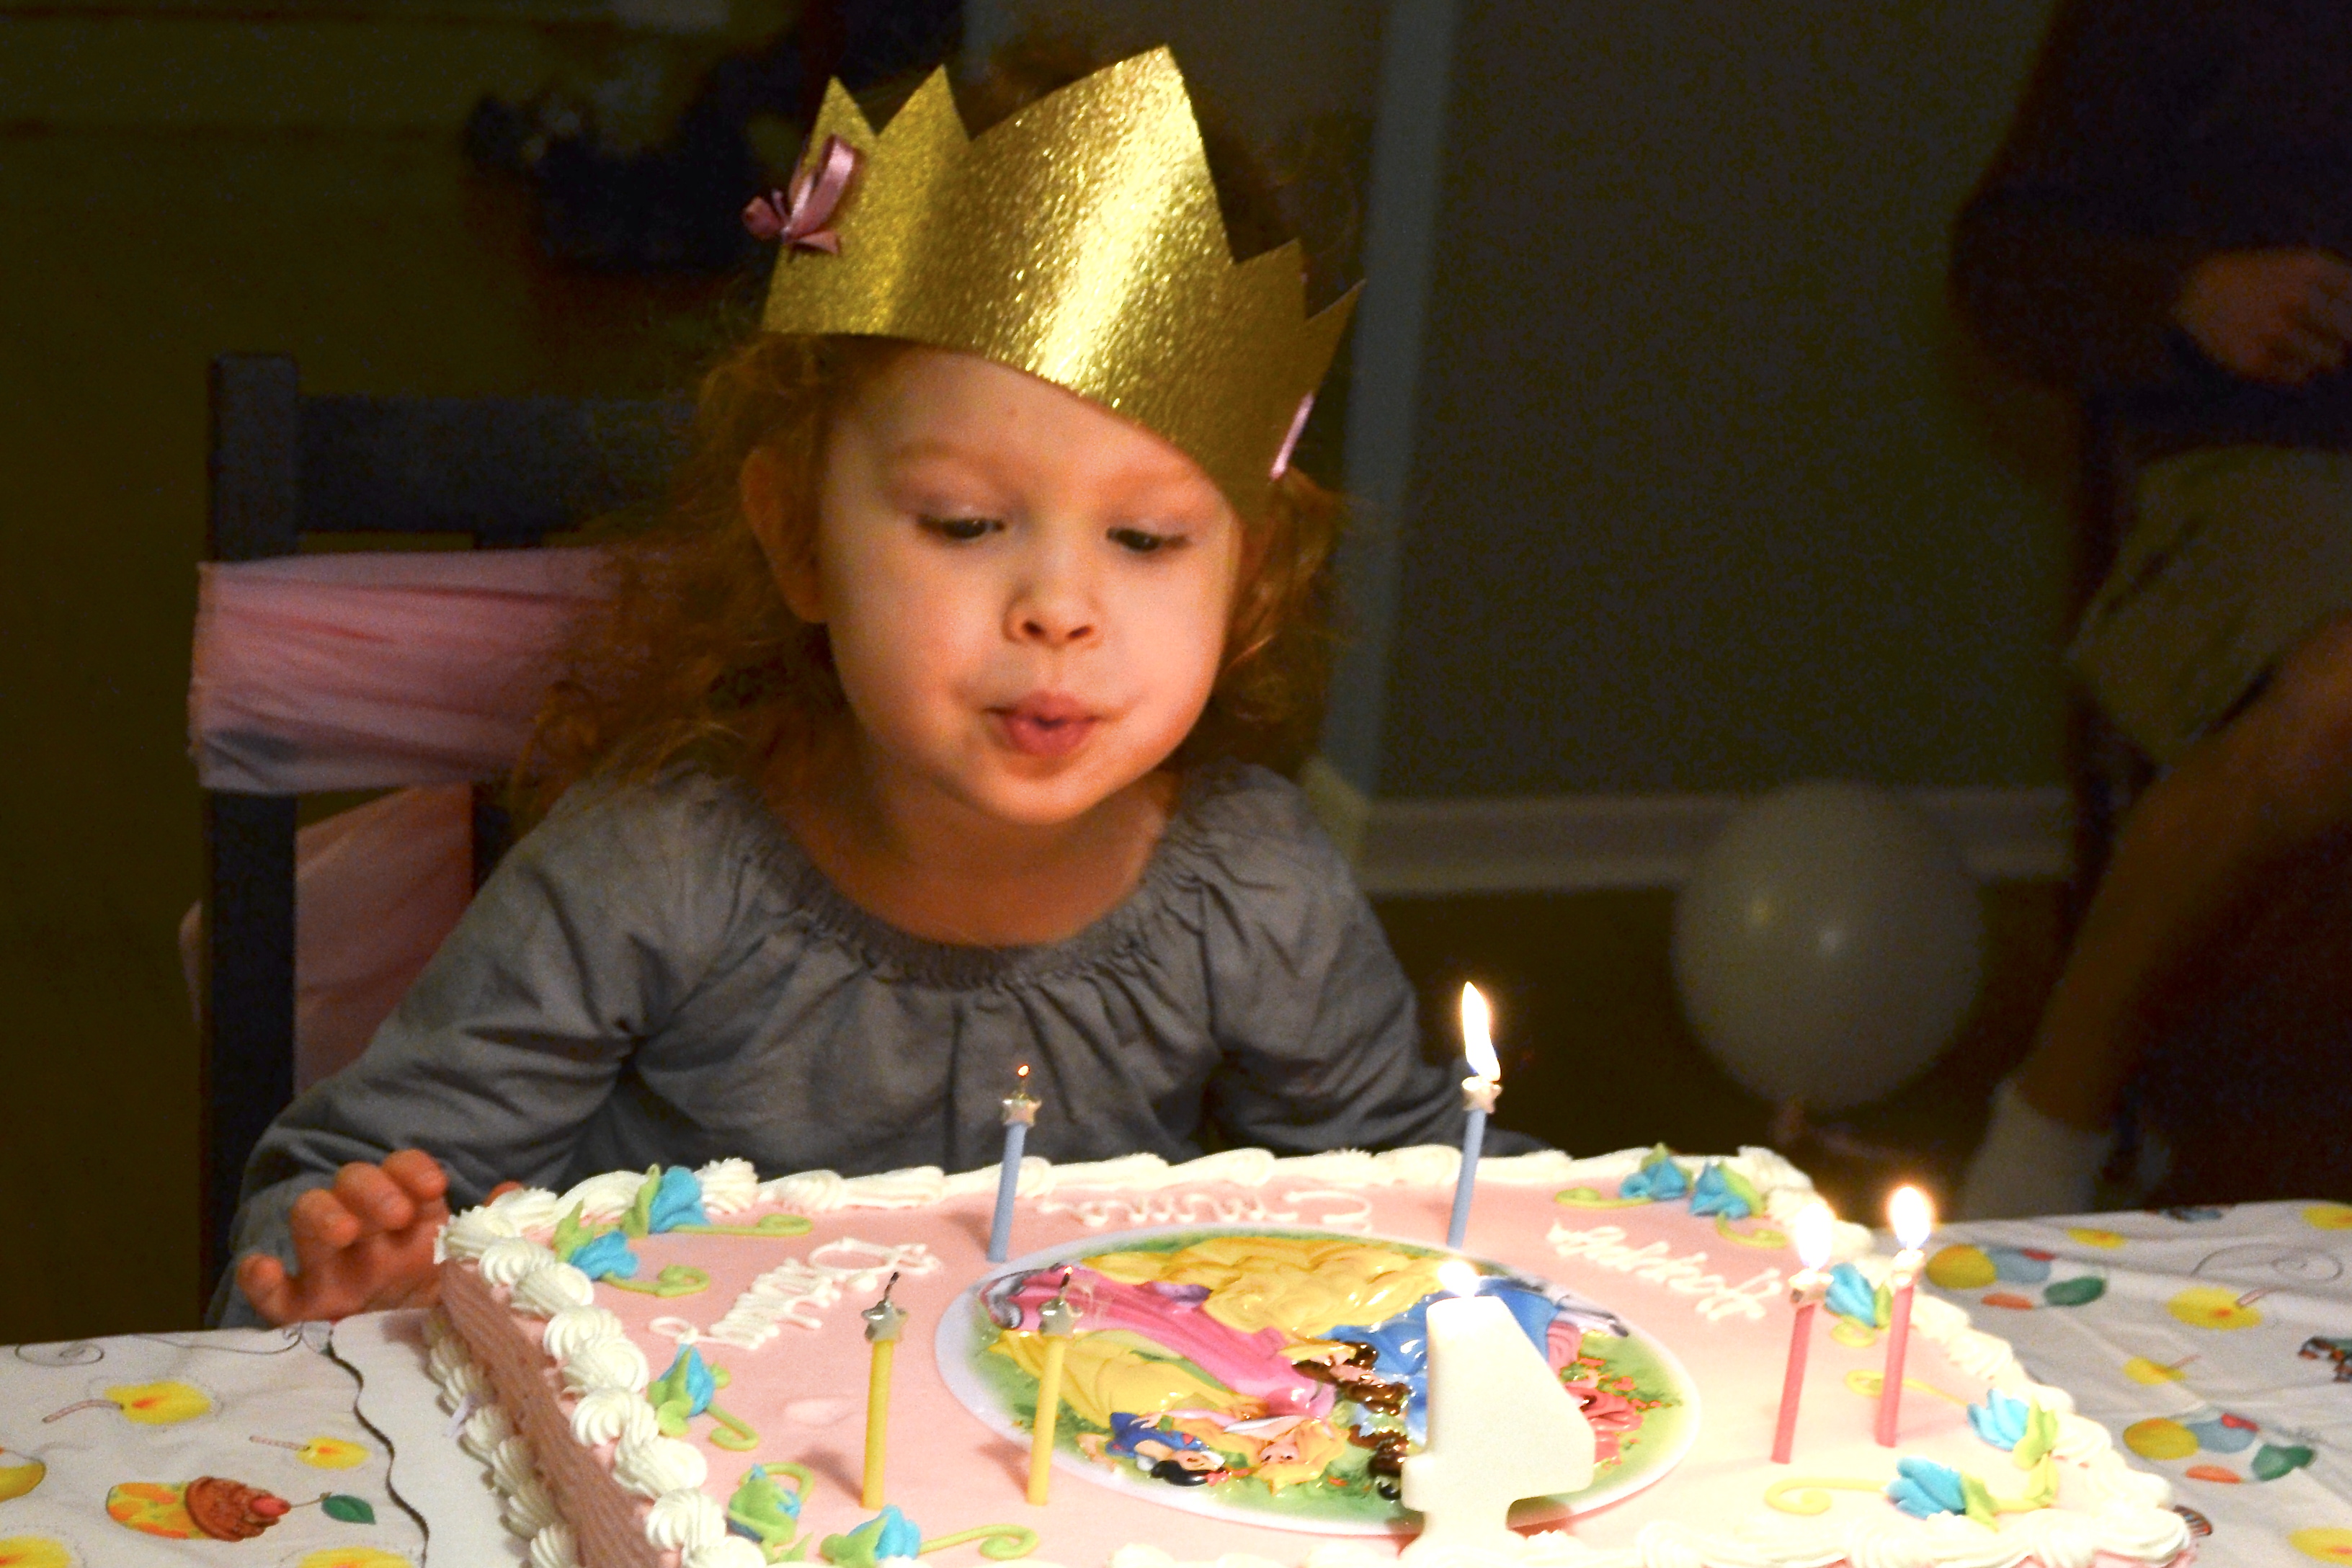
Yesterday I showed you how I made the pretty little crown for Emma Grace’s birthday {and she still keeps it in her dress-up box. After over 6 months of wear, I’m kind of impressed by how sturdy card stock can be!} and then mentioned that I had another darling little DIY tutorial up my sleeve :)

making mini crowns

One of the “crowning” touches to E. G.’s party was the little tiny tiara that I made to grace the number “4” I had made from pink paper to hang over the table. It was so cute, I couldn’t bring myself to throw it away when I took down the rest of the princess things, and now it’s sitting on top of a Winnie the Pooh figurine in the kids’ room. {It’s the little touches that make a room (and a party), you know :)}

After walking by it, day after day for months, it occurred to me that the tiny crown would be perfect for a baby shower, too. Or a first birthday, a Quinceanera, a Sweet Sixteen, gracing the top of your jewelry stand or a birthday package, um, the list goes on and on :) And these little things are so easy to make, too! Ready to see how?

materials for making mini crowns materials: scissors, ruler {optional – you can also just eyeball it}, glittery paper, hole punch, narrow ribbon {I used about 7″, but the length is up to you}making mini crowns starting with a 4″ by  3/4″ {or so} piece of paper, bring the ends together to form a circle.making mini crownsPunch two small holes where the ends overlap, thread the ribbon through these holes and tie a pretty little bow.making mini crowns Next, make the little triangles on the top of the crown with your scissors – because the crown is so small I just freehanded these, but you could measure if you want :)making mini crowns And there you have it! A darling little tiara for …. whatever you’d like!making mini crowns

I think Winnie the Pooh is enjoying wearing it, don’t you?

Tell me, what would you use this tiny darling for?

Follow on Bloglovin


I’m sharing this at the Vintage Farmhouse <3

how-Tuesday: DIY Birthday Crowns

how-Tuesday: DIY Birthday Crowns

Today’s promised how-Tuesday: DIY Birthday Crowns! Do you remember the princess party that Emma Grace requested? Well, I realized that I had never shown you how I made her darling Birthday Crown {and, since I’m kind of on a birthday theme at the moment, now is the perfect time to change that, right?}!

DIY Party CrownDIY Party CrownToo cute, isn’t it?! Now, let’s get started:DIY Prince or Princess Crown materials: mid to heavy weight card stock in size 8 1/2″x11″ or larger {I used white for these so my kiddos could color them, but you can use any color you wish! For E.G.’s birthday I used a gold glittered paper}, ruler, pencil, scissors, hole punch, ribbonDIY Prince or Princess Crown step one: with your paper in the “portrait” position {so that it’s facing the “tall” way}, draw a line down the middle {4 1/4″ from the edge} and then cut along this line. You will now have two 4 1/4″x11″ pieces.DIY Prince or Princess Crown step two: find your middle point on one long edge of the paper {at 5 1/2″} and make a small dot. Then, measuring from this same edge, measure 2″ toward the middle and lay your ruler along this 2″ line. Make a dot on this line at the 2″, 4″, 7″ and 9″ marks.

Now it gets just a bit more fun … you get to play connect the dots! Draw lines connecting the corners on the long edge with the dots you’ve just made, forming a series of …DIY Prince or Princess Crown …triangles along what is now the top edge of your crown.DIY Prince or Princess Crown Step three: cut along this line. It’s beginning to take shape!DIY Prince or Princess Birthday Party Crown step four: punch two holes on each end of the crown, about an inch apart.DIY Prince or Princess Birthday Party Crown step five: cut 2 lengths of ribbon, each about 18″ long and thread a piece through the holes of one end {like in the photo} and it to itself so that one side has a knot and the other …DIY Prince or Princess Birthday Party Crown …looks like this. Repeat for the opposite end. Now, at this point you can either be finished or you can pass it on to a child and allow them to decorate it to their heart’s content :)DIY Prince or Princess Birthday Party Crown DIY Prince or Princess Birthday Party Crown DIY Prince or Princess Birthday Party CrownDIY Prince or Princess Birthday Party CrownsThis cutie modeled her party crown again as she colored her new, custom decorated by her tiara.DIY Prince or Princess Birthday Party CrownsSo intent on her work!DIY Prince or Princess Birthday Party CrownsTada! Wouldn’t it be a sweet party activity to decorate your own crown? Maybe with feathers, glitter and sequins, too? I think a little one {or several} would be just over the moon with these!DIY Prince or Princess Birthday Party CrownsDIY Prince or Princess Birthday Party CrownsDIY Prince or Princess Birthday Party Crowns

Gah, those eyes! So, there’s your promised adorable tutorial for the day :) And I’ve got another one up my sleeve! Maybe for tomorrow? Maybe …

Until then, I’d love to hear if you try this! How would you customize them for your littles? Do you have a favorite party hat tradition?


XOXO

Follow on Bloglovin


I’m sharing this at the Vintage Farmhouse <3