Browsed by
Tag: DIY

How-Tuesday (on a Thursday): DIY Egg Centerpiece

How-Tuesday (on a Thursday): DIY Egg Centerpiece

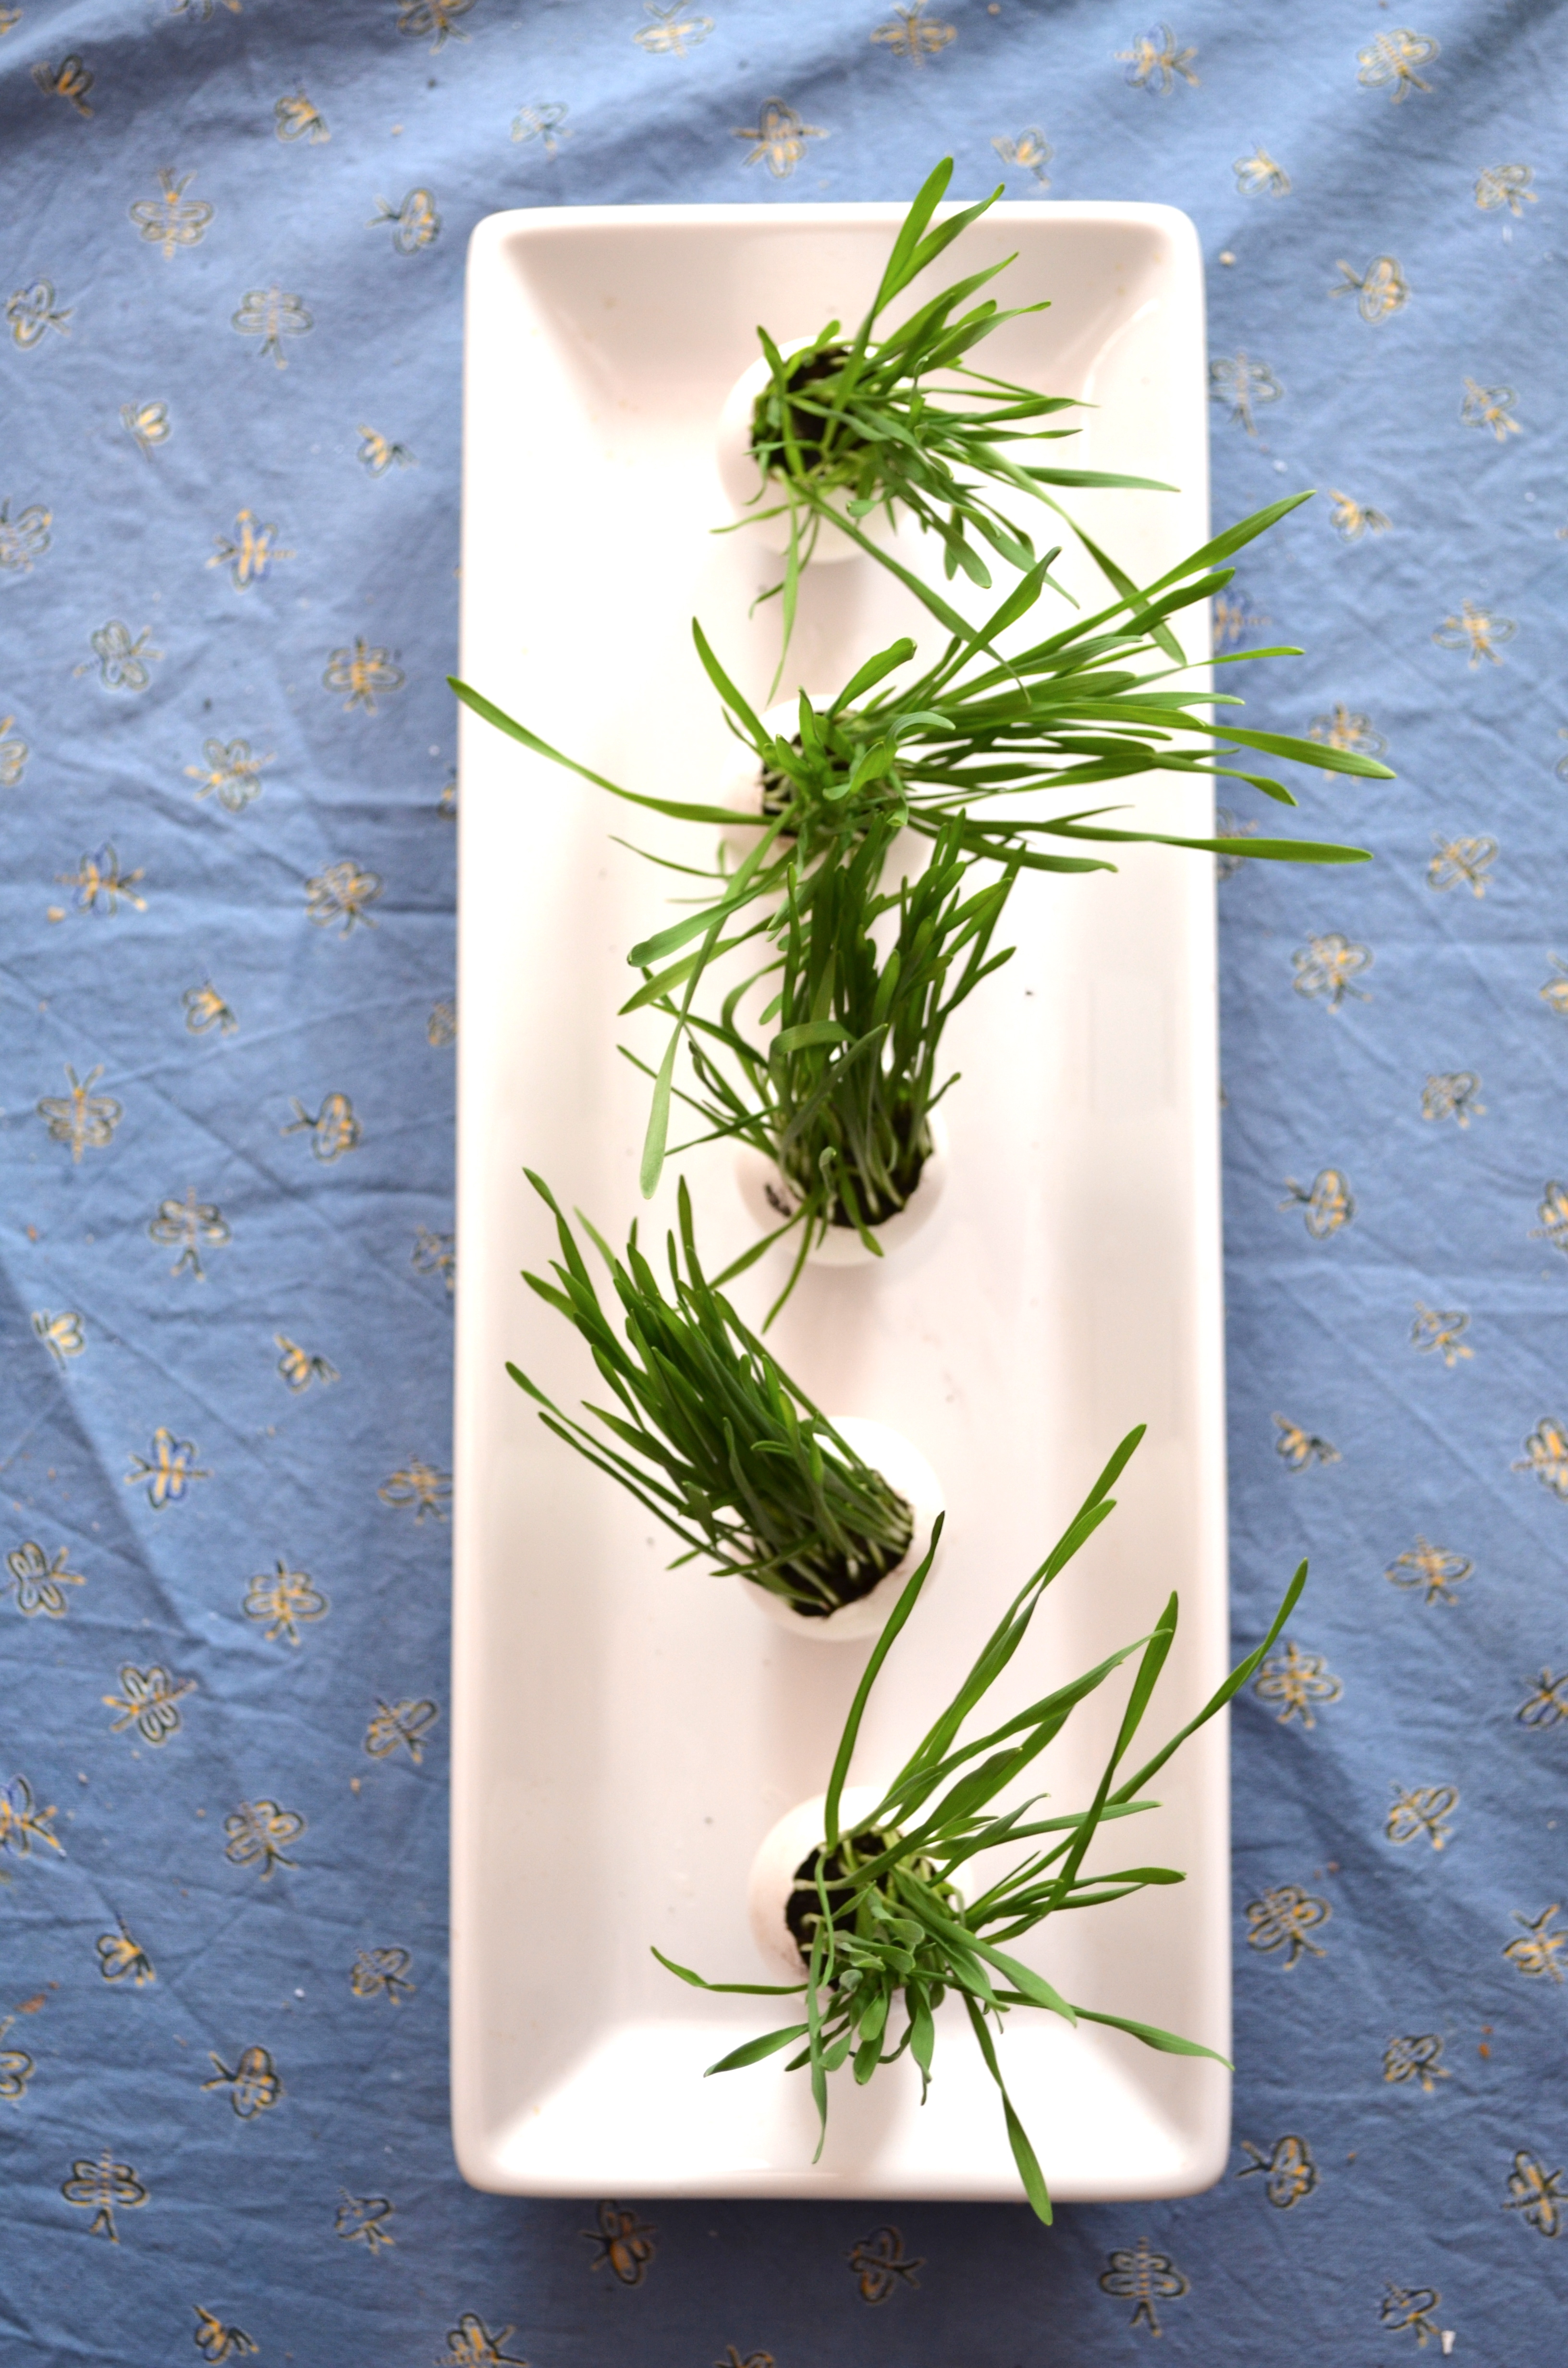
Have you ever wondered how to make eggs stand up without using those darling little egg cups? Well, today I’ll show you how :) And yes, today is Thursday, not Tuesday … {life … happened. I’m sure you understand}.

This project is perfect for all sorts of celebrations: Easter, Earth Day, baby showers or farm-themed birthdays – and if you use the eggs as vases for tiny arrangements, the list grows even more. You could even adapt these to use as mini herb pots on your kitchen windowsill!

DIY Easter Egg and Grass Centerpiece via the Path Less Traveled

The materials for this project are very simple:

– egg shells {either empty for vases or with grass growing in them}

– a candle

– matches

– a platter {or whatever you’d like the eggs to be stood on}

DIY Easter Egg and Grass Centerpiece via the Path Less Traveled

Step one: Light your candle

DIY Easter Egg and Grass Centerpiece via the Path Less Traveled

Step two: find where you’d like your first egg to be placed and tip your candle so that the hot wax drips on the exact spot {holding your candle at a slightly upside down angle – 100-110 % works well – allows the flame to melt your candle quickly so that you can work before your pool hardens. Experiment a bit and find the method that works for you :)}

DIY Easter Egg and Grass Centerpiece via the Path Less Traveled

Step three: Quickly press an egg in the center of this puddle, holding it upright for a few seconds until the wax hardens.DIY Easter Egg and Grass Centerpiece via the Path Less Traveled

Repeat step three until you’ve completed your arrangement, and then step back to admire. :)

DIY Easter Egg and Grass Centerpiece via the Path Less TraveledEnjoy! I’d love to hear how yours turn out. :)


<3


How Tuesday: Faux Gilded Easter Eggs

How Tuesday: Faux Gilded Easter Eggs

Have you been noticing the gilded trend lately? I’m not sure about you, but I’m loving it. There’s real gilding and there’s faux, and they’re both really lovely.

There are tutorials on the web for real gilding, and, if using gold leaf isn’t your thing or scares you, you can even find some really lovely gold {or silver, or bronze} paint that is quite convincing. Or, if you’re at home and don’t want to venture out in the snow just to get some gilding materials, you can also use in ink pad. Yep. I know because I tried. You’re welcome. :)

This is super quick, and, if you happen to have the items already in your closet {what do ya know, I did!}, free! Or, if you don’t have them already, the paper mache eggs were originally 50% off of $0.34 each at Hobby Lobby, and the ink pads were $1-ish at Michael’s, so …. pretty cheap. :) Of course, you could also use real eggs, which would be quite lovely too. Maybe tomorrow I’ll try it with real ones – and then hang them from the ceiling, like {this}.

DIY faux gilded Easter eggs via the Path Less Traveled

materials needed: ink and eggs

DIY faux gilded Easter eggs via the Path Less Traveled

step one: press your egg onto the ink, rolling it around a bit. Repeat on each side until the egg is covered. Depending on the quality of your ink pad, you might need to give it a few coats.

DIY faux gilded Easter eggs via the Path Less Traveled

Chances are your fingers will look like this by now. Totally normal. :)

DIY faux gilded Easter eggs via the Path Less Traveled

Repeat step one with each of the eggs.

Step two: Find a clear vase to display them in. Admire them. And see if the shimmer washes off of your hands. :)

DIY faux gilded Easter eggs via the Path Less Traveled

That’s it! One of the lovely things about using an ink pad instead of gold leaf or paint is that dry time is non existent and clean up is a breeze – not even any brushes to wash!

Imagine how you could use this trick in other projects – maybe “gild” the edge of some invitations, or, using a color instead of shimmer, add a splash of color to some disposable flatware?

Have you been doing any projects to add to your decor this spring? If so, I’d love to see them! Just add a link in the comments section. :)


XO

How Tuesday: growing Easter grass

How Tuesday: growing Easter grass

Have you seen how some people  {Design Mom has a few sweet posts on it} have grown their own Easter grass? No? It’s a super sweet idea, and this year I decided to give it a try! It’s a simple but meaningful way to add a special touch to your Easter celebrations. It’s a great object lesson for children about new life and putting something “dead” into the ground and watching God make it come to life. Kind of a nice segue into talking about the Resurrection :)

note: If you do this NOW you’ll have some darling little pots of real grass for Easter. Or, you know, if you start the wheatgrass growing in the next few days …. :) {if you’re like me, it works better to tell yourself that it needs to be done NOW – that way it will actually get done, maybe not “now”, but at least soon}

growing wheatgrass via the Path Less Traveled

It turns out that growing wheatgrass is really easy. All you need is some wheat, some water and some dirt {and maybe a container to put the dirt in}. Yep, really easy.

Step one: soak your wheat berries/seeds for a few hours or over night. This isn’t truly needed, but does speed up the sprouting process.

growing wheatgrass via the Path Less Traveled

Step two: gather your containers and dirt. I chose to use some egg shells for some of the containers – when the grass is a little taller I’m going to make a centerpiece for our table like this one {you should click over – it’ soooo pretty! I wish it was my idea first :)}

growing wheatgrass via the Path Less Traveled

If you choose to use egg shells, simply tap your egg all the way around near one end instead of in the middle as you’re cracking it, and rinse out the shell after you’ve dumped out the white and yolk.

growing wheatgrass via the Path Less Traveled

Step three: fill your containers with soil. If you’re using a pot without a drain hole, place small rocks or packing peanuts in the bottom to provide some drainage and keep the seeds from rooting.

growing wheatgrass via the Path Less Traveled

Step four: place your wheat berries on top of the soil, covering the surface with an even layer, and then cover the wheat with more soil.

growing wheatgrass via the Path Less Traveled

Step five: water and wait. The seedlings should emerge in about 48 hours or so. Continue watering every day as it grows, and enjoy the bit of green!

growing wheatgrass via the Path Less Traveled

These are the eggs five days after planting – by the time Easter is here, they may need a trim! I’ll clean up the shells in a few days once the sprouts are a bit sturdier and use some wax to create the centerpiece I mentioned. Maybe I’ll post a photo when it’s done!

Let me know if you try it!


<3


How-Tuesday: Party Ceiling Pouf

How-Tuesday: Party Ceiling Pouf

There has to be a better name for it, but for now I’m calling it “Party Ceiling Pouf” {really, any of you have suggestions? Let me know!}

image via Lindsay Meinhart on Pinterest

I found this photo on Pinterest a while back, and when we started working on the pink princess party, I knew it would have to happen. Of course, when I was making it I just winged it and didn’t click through to see if there was a tutorial for it. :) After I was finished I found out that wasn’t a tutorial {yay for figuring things out on your own!} but one of the commenters suggested cutting the table covers in half the long way to double your “streamers” – even so, I think it turned out really sweet!

Easy Party Ceiling Decor Tutorial

I picked up all the materials {except for the tissue poms which I borrowed from the kids’ bedroom :)} at the Dollar Tree, and the entire project came to $5 – a huge impact for a small price!

materials for a party ceiling pouf via the Path Less Traveled

 materials: plastic table cloth, wire star garland and thumb tacks {all pictured} tissue poms or balloons and twine or fishing line {not pictured}

instructions for party ceiling pouf via the Path Less Traveled

step one: remove the table cloths from the packaging and gather half of one end in your hand.

step two: find where you want the “center” to be, climb up on a step stool and tack it up …

instructions for party ceiling pouf via the Path Less Traveled

… like this.

step three: Gather and tack up the other side of the end, then do the same with the opposite end.

Repeat with the other three table cloths, making a “+” shape on the ceiling.

DIY Party Ceiling PoufOnce you’ve used all four table cloths, you can stop there or continue on like I did and add a touch of whimsy and sparkle {which, it turns out, thrills little 4-year old girls!} by adding strands of the star garland along the underside of the draped cloths.

Easy Party Ceiling Decor Tutorial

step four: gather your tissue pons {or balloons} and, using twine or fishing line, hang them in a bunch in the center to provide a focal point and hide the bunching :)

step five: step back and admire your work :)

that’s it! Super simple with a huge impact – and a great way to make your celebration special.

xo

How Tuesday: DIY Love Note Tree

How Tuesday: DIY Love Note Tree

So, perhaps you noticed that this How-Tuesday is on a Wednesday? Yes, it’s taken me a few days to get back up to speed after coming back from the wedding. But, even though it’s Wednesday and not Tuesday, I still wanted to post this for you {Valentine’s Day is coming! And you’ll want to start this as far ahead of the special day as possible, I imagine, so I didn’t want to wait until next week :)}.

DIY Love Tree Tags from the Path Less Traveled

Kind of inspired by Emily in this post, this is a “Love Note Tree” that, as each day goes by, will get another heart added with a little note telling your love what it is about them that you adore.

DIY Love Tree Tags from the Path Less Traveledmaterials needed: 14 paper hearts, hole punch, twine {or ribbon} and scissors, and a pen

DIY Love Tree Tags from the Path Less Traveledstep one: punch holes in your hearts

DIY Love Tree Tags from the Path Less Traveledstep two: write “I love:” on your hearts, filling in the things/reasons as you hang them on your “tree” {in my case, a branch}

DIY Love Tree Tags from the Path Less Traveledstep three: cut the twine in 4-6″ lengths, thread them through the hearts and tie DIY Love Tree Tags from the Path Less Traveledstep four: hang them on your “tree”

 So there you have it! By the time Valentine’s Day is here, this little branch will be full of hearts. <3 And each one will have another thing about John that I love, written on it for him to read.

Do you have any little projects that you’re doing for your love? Or, if you have kiddos, that you’re helping them to do? I’d love to hear about them!

<3


a DIY skirt for a bed with side rails

a DIY skirt for a bed with side rails

Here’s a project that I just finished {a DIY skirt for a bed with side rails}. It’s not shop related, but I thought you might like to see anyway. :) And, just because you might like to see how I did it, it’s a kind of tutorial, too!

This is our bed. So comfy, with some gorgeous bedding, too. But, since I had never gotten around to altering the bed skirt to fit the bed frame, all the stuff that we are storing under it (we live in an apartment with limited storage space) was visible to anyone who walked by the doorway. That was something I decided to finally fix!I already had the bedskirt that came with our bedding, and it was the typical bed-in-a-bag kind that is supposed to lie between your mattress and boxspring. Since we have a solid bottom bed we don’t have a boxspring, and the side rails of the bed are in the way and would get covered if I was going to just spread the skirt before putting the mattress down.

So … I cut the side panels off of the skirt.
That took a little bit of courage since it is from the Martha Stewart Trousseau line at Macy’s. If I messed up it wouldn’t be cheap to replace!
I took a pack of 2″ wide sew-on Velcro and cut it into 1″ wide strips, lots and lots of them.

I pinned the female sides about 8″ apart on the outside (the side that would be showing) of the bedskirt panels, and sewed them in place using my machine.

I then took my husband’s staple gun and crawled under the bed to staple the male sides of the Velcro to the inside of the side rails and panel at the foot of the bed, 8″ apart again.
John walked into the room as I was doing this and laughed – it must have been a pretty funny sight to see me, 8 months pregnant, with my head and arms under the bed and my belly and feet sticking out!

The last step was to stick it all in place!

Ta da!

The Girl Creative


flower pin tutorial

flower pin tutorial

Here it is! The thing I was working on – other than compulsively organizing our apartment in preparation for Baby #2 – is this little flower pin tutorial. Enjoy! :)
(by the way, this is a great way to use up random scraps of fabric that you might otherwise toss as you are spring cleaning your stash)

start by sewing – with a doubled thread to prevent breakage – through the end of the strip to anchor your thread and gather the end. this will be the center of your flower.

materials:
fabric – a strip (at least an inch wide) cut from a 45″ piece of material, selvage to selvage
scissors
needle and thread
pin back
fabric glue

Cut a piece of fabric at least an inch wide (your flower will be twice as wide as your strip). I used a quilting weight fabric that was 45″ wide for this flower, but you can use any type in any length. The length that you use will determine how “full” your flower is.

continue to sew a running stitch along one side of the strip, pulling the thread to gather it every few inches.

once you have sewn and gathered about 12″ or so, begin to coil the strip into a flower, sewing it in place as you go
…continuing to gather, coil and stitch until you come to the end of the strip.
It should look a little like this.
Sew the pin back on and knot off the thread. Almost done!

Glue a snippet of fabric over the bar of the pin (this part allows you to hide any messy stitches).

Ta da! That’s it. Rather simple and quick, unless you are interrupted, that is ……… some of these flowers have taken me more than a day to complete. :) And, if you want the one I made for the tutorial, you can buy it here in my Etsy shop.