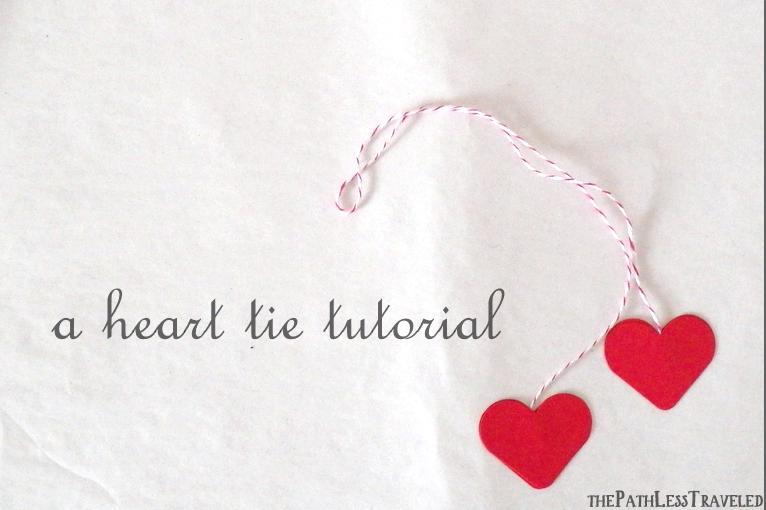
How-Tuesday #2 – heart tie tutorial
Today’s How-Tuesday is super simple and so “love-ly” {sorry, couldn’t resist} and perfect for Valentine’s Day. Or, if you tweak it a bit, for any other occasion too, come to think of it … :)
It’s a sweet little way to finish off a gift, tie up a bag of sweets, add an extra touch to a Valentine – or even to use as a napkin ring – and I can’t figure out what to call it {“heart tie”? that would do, but kind of blah. But it’s the best my sleep-deprived-mama brain is coming up with at the moment!}. So, a sweet little heart tie tutorial, coming right up!
Materials needed:
red hearts, red and white baker’s twine, and glue {I used basic white school glue for this tutorial, but I’ve found that glue sticks work just as well}
Instructions:
Step 1: cut a 12″ length of twine. Step 2: glue the hearts – a small dab on two and all around the edges on two.
Step 3: place the ends of the twine on the dabs of glue.
Step 4: place the other glued hearts on top of the twine and press them together.
And that’s it! Pretty simple. :) And as I mentioned earlier, it can easily be tweaked for any occasion {stars instead of hearts, perhaps? Or little pumpkins?}, too.
If you want to dress it up a bit, just substitute ribbon for the twine!
<3


